SlideMagic Blog

Frequent updates about all things presentations since 2008. Subscribe to never miss a post.

RSS
all posts

Category Software

·Software

Google Docs moving to canvas

A bit of a technical post. Google Docs is changing the way it renders documents. Instead of HTML, it will move to something called “canvas” (no, not Canva, the design platform), partly because of the same limitations of web page layouts that I have been battling with SlideMagic.

HTML was created in the 1980s to render text and links in web browsers. Over the years many features were added that improved its graphics capabilities. The result are the modern web pages, mobile apps, and desktop apps such as SlideMagic that we know today.

HTML is great for displaying content on a huge range of devices, different sizes, different process speeds, different resolutions, different generations of technology. The NYT front page will look great on all these screens.

But graphics applications require more than that. Specifying the exact crop of an image, exactly setting the font size to prevent an orphan word of a title dropping to the next line. What-you-see-is-what-you get editing. Copy-pasting of text or images. Exactly scaling up or down a layout rather than changing the point sizes of fonts with steps.

In SlideMagic, I had to apply a lot of tricks to get things to work, and basically created my own (x, y) coordinate space to do what I want. It looks like Google is going a similar way. My approach is to use vector graphics, that can scale to any size you want while being able to detect mouse clicks on elements.

Google is taking it further and moving to a complete blank “canvas”. Everything is “painted” bit by bit, letters are drawn, images are merged in, selection boxes are merged in with the document. To drag a box of text, Google will have to write software that fills the pixels of the box with the underlying pixels, then redraw all the pixels a bit to the right.

Continue reading →
·Software

What is wrong with this picture?

Zoom is introducing some “immersive” backgrounds to group video calls. A nice try, but something does not look completely right in this image:

It is very hard to get 3D photoshops right. If it does not look perfect, I recommend not even giving it a try in your presentation. It is like handing the pen to your 4 year old for one of your 30 slides. Instant loss of professionalism.

Why is it tricky for Zoom? Headshots are taking at different distances from the camera, and the camera position of the room is very high, in an environment with a very strong unnatural 3D distortion.

If I were Zoom, I would keep it simpler, with an artificial rendering of headshots, taking out their distracting backgrounds of bookshelves, kitchens and children’s toys, and paying careful attention to the relative size of the heads, position of the eye line.

·SlideMagic

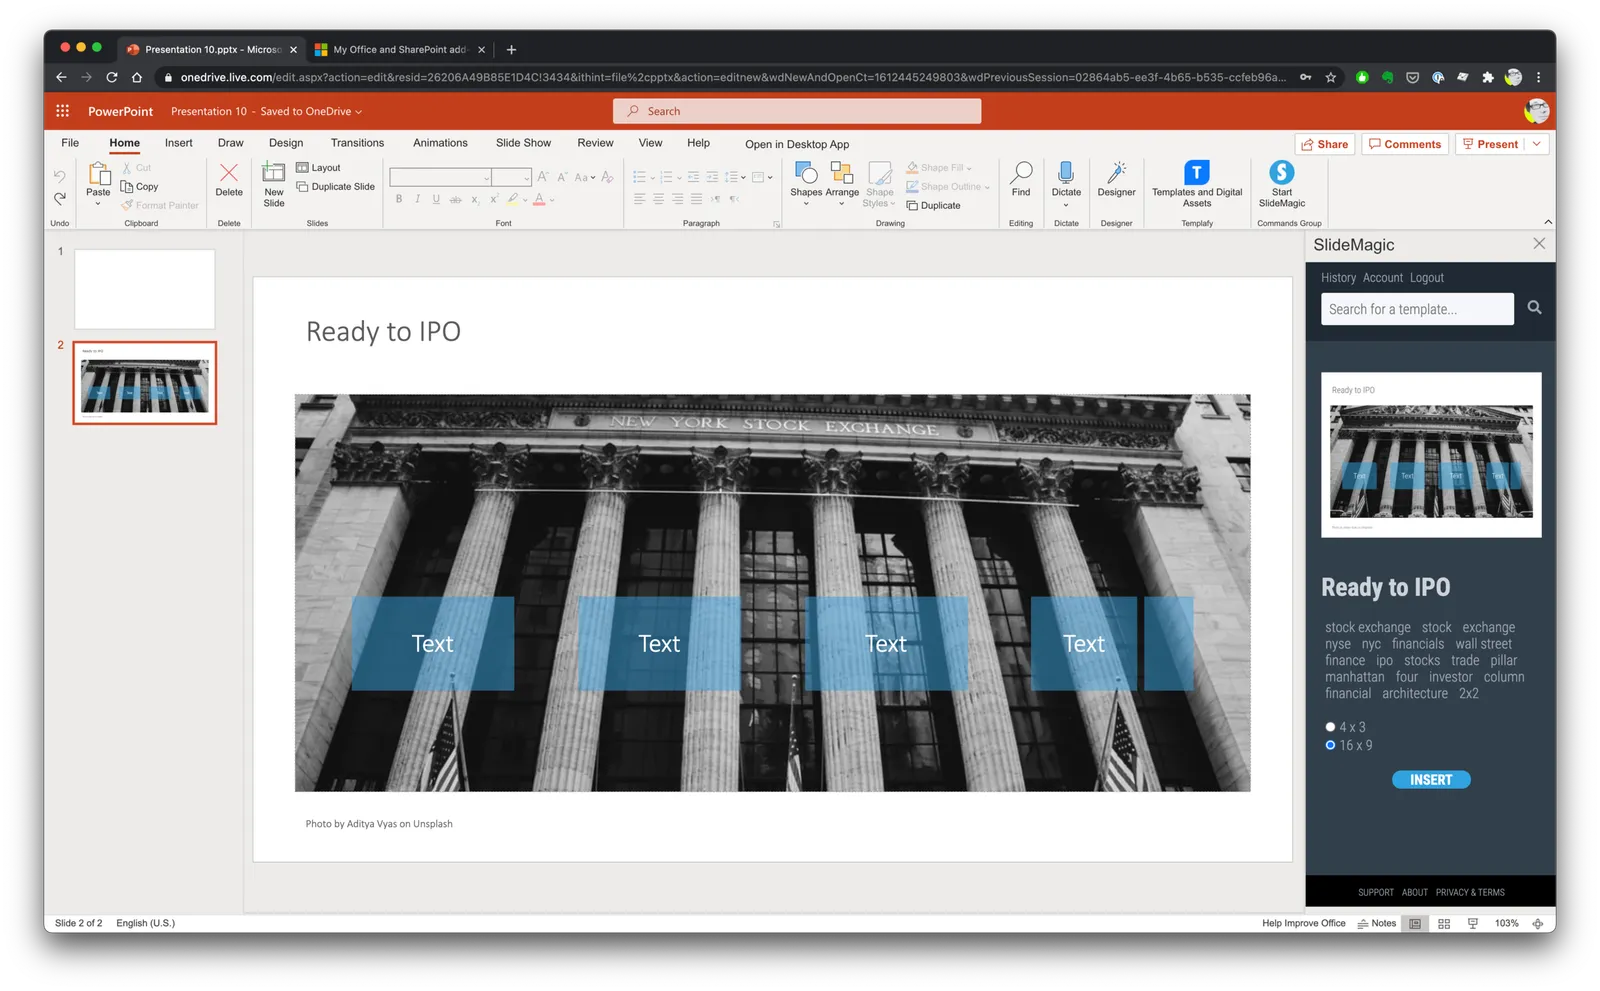
Updates to the SlideMagic PowerPoint Add-in (alpha)

UPDATE: THE MICROSOFT OFFICE PLUGIN HAS BEEN DISCONTINUED (30 JUNE 2026)

Microsoft made some updates to its Office API (and SlideMagic made some changes to its server), and as a result, the SlideMagic PowerPoint add-in starts working a lot better.

The SlideMagic PowerPoint add-in is especially useful for users who download PowerPoint templates from the SlideMagic web site. Most of you are people who were subscribers to the legacy template store (RIP). Since PowerPoint conversions are a pro feature of SlideMagic, the add-in is only useful for pro subscribers.

What has changed?

  • The add-in now remembers your login details across PowerPoint files No need to constantly log in (again).
  • More importantly (thank you Microsoft), the SlideMagic add-in now adds slides straight into your existing PowerPoint presentation

The add-in is still an alpha phase, and things are tested for the moment in the online PowerPoint environment. I will submit it for another go for Microsoft approval to get it working with PowerPoint desktop versions as well.

Here is how to install the add-in:

  1. Download the file slidemagic.xml from this link
  2. Log in to your online Microsoft 365 account, click PowerPoint, and open a new presentation
  3. Select “insert”, then “add-ins”
  4. Select “my add-ins”, then “upload my add -in” in the top of the window (it is not available in the Microsoft store yet)
  5. Select the slidemagic.xml file you just download and upload it
  6. Go back to the '“home” ribbon

The add-in is installed. To use it:

Continue reading →
·SlideMagic

In-app tutorials

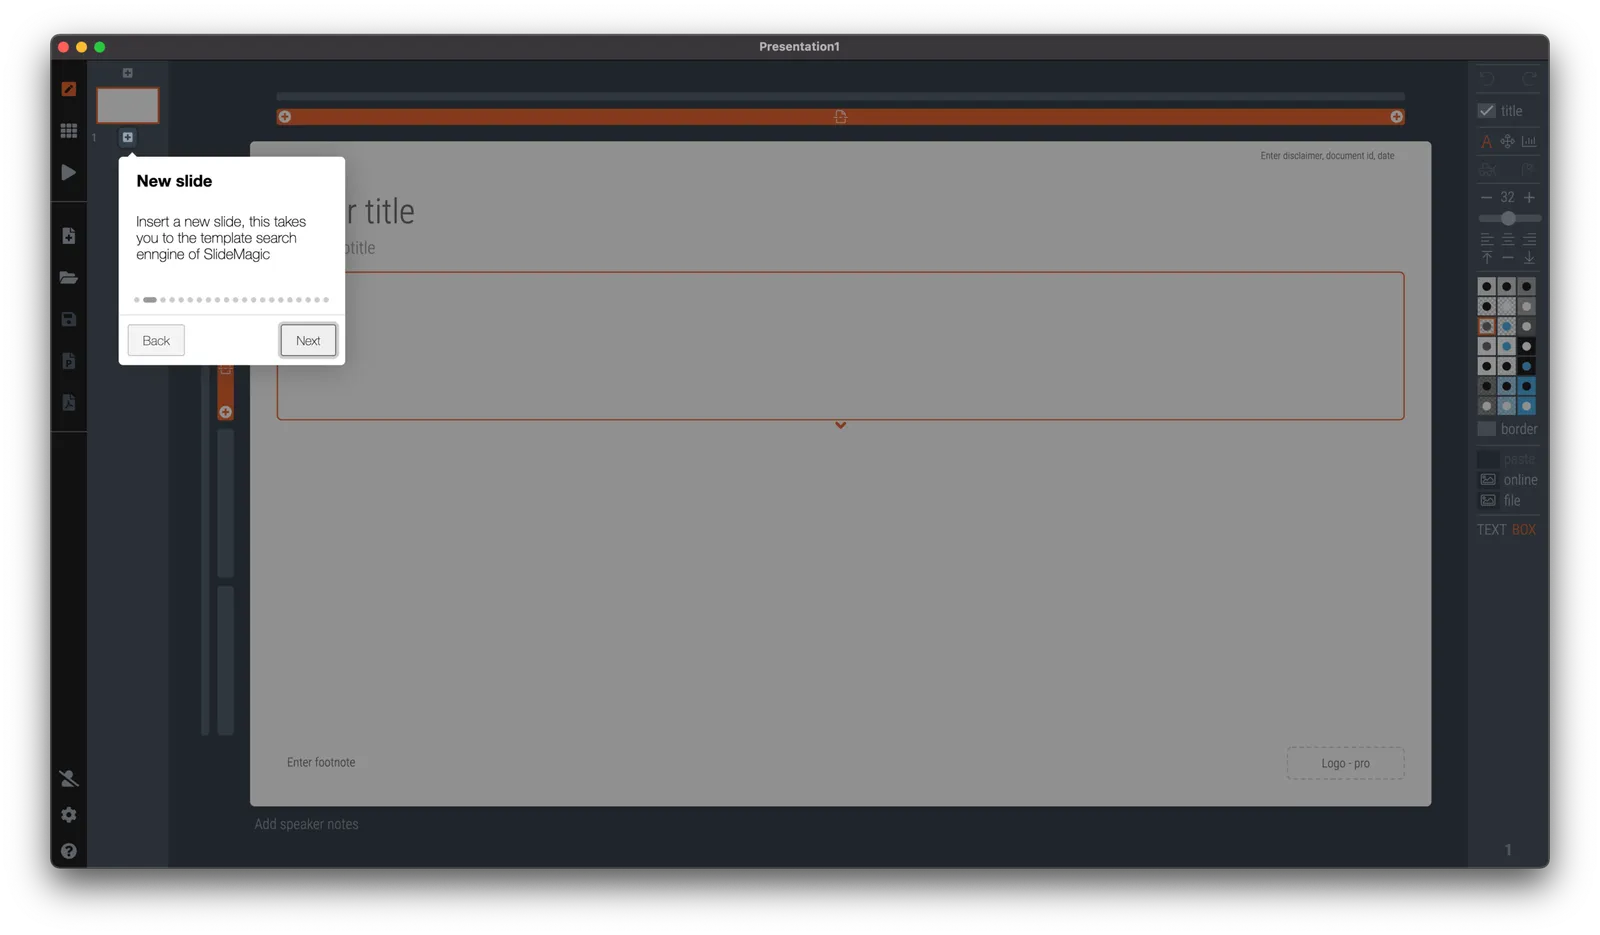
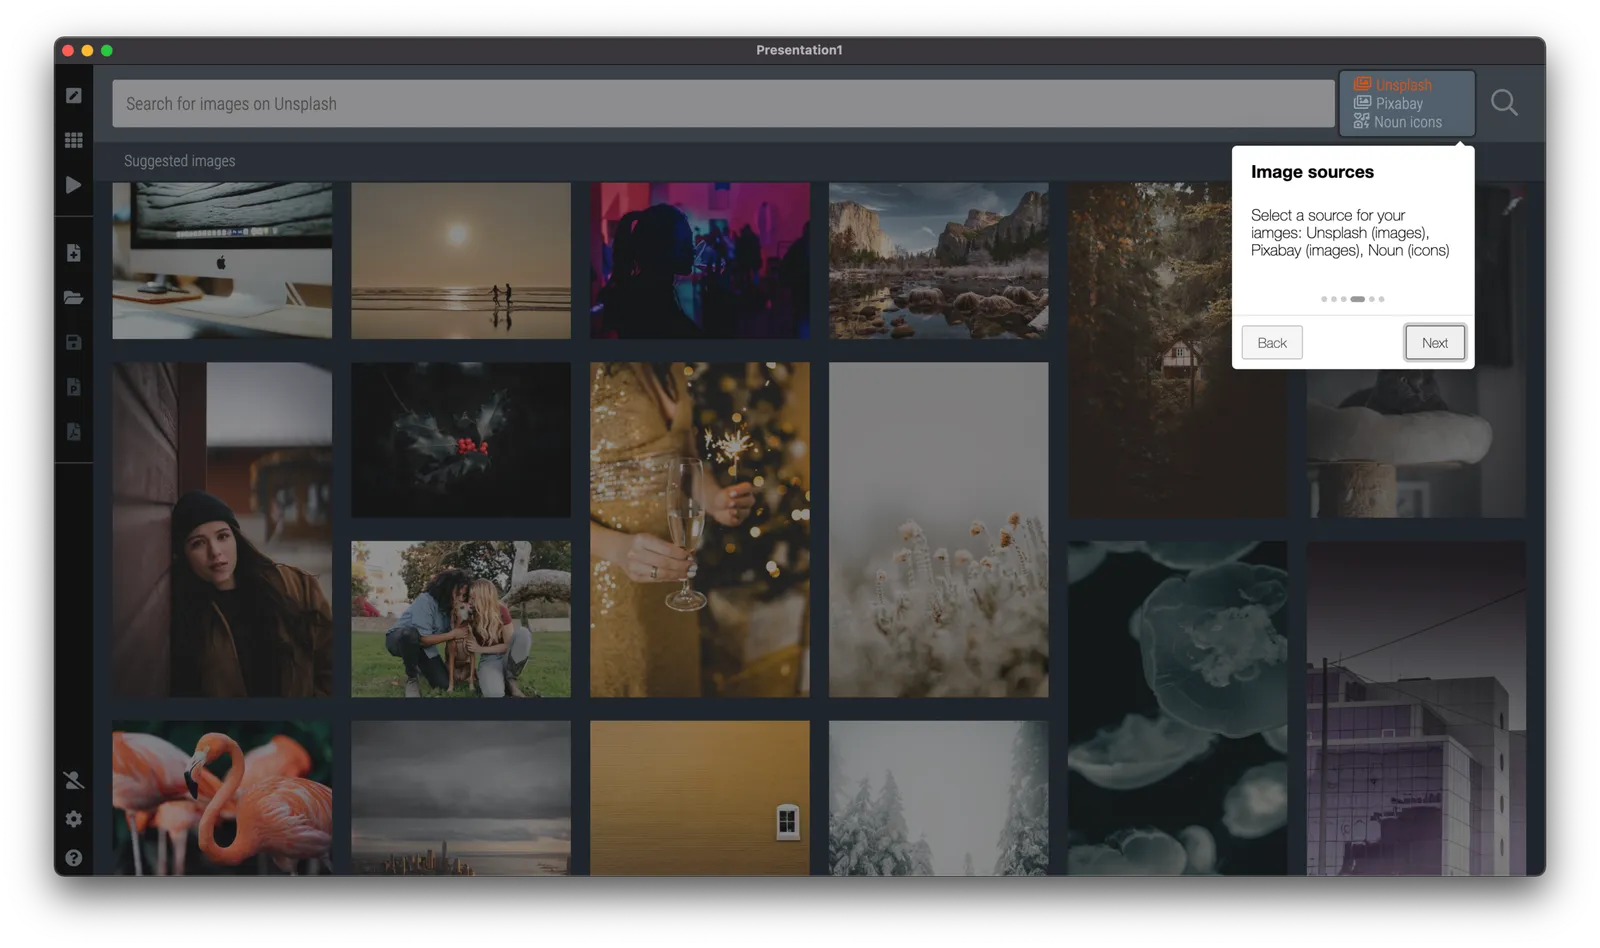
Since v2.6.18, SlideMagic has in-app onboarding tutorials. Click the ‘?’ icon in the bottom left of the app, and you will be taken around the features of the screen that is currently active. The slide edit screen also covers the general navigation inside the app. Next to the edit screen, there are page walkthroughs for the story, settings, presenter, image/icon search, and template search screens.

There is still some formatting to do, and the tutorial needs a more prominent position when you start SlideMagic for the very first time, but all in all, very useful I think. The real-time examples work much better than static tutorial pages, and now, the tutorial will always be up to date with the user interface (which is still changing now and then).

Photo by Zoltan Fekeshazi on Unsplash

·Software

A better way to edit speaker notes

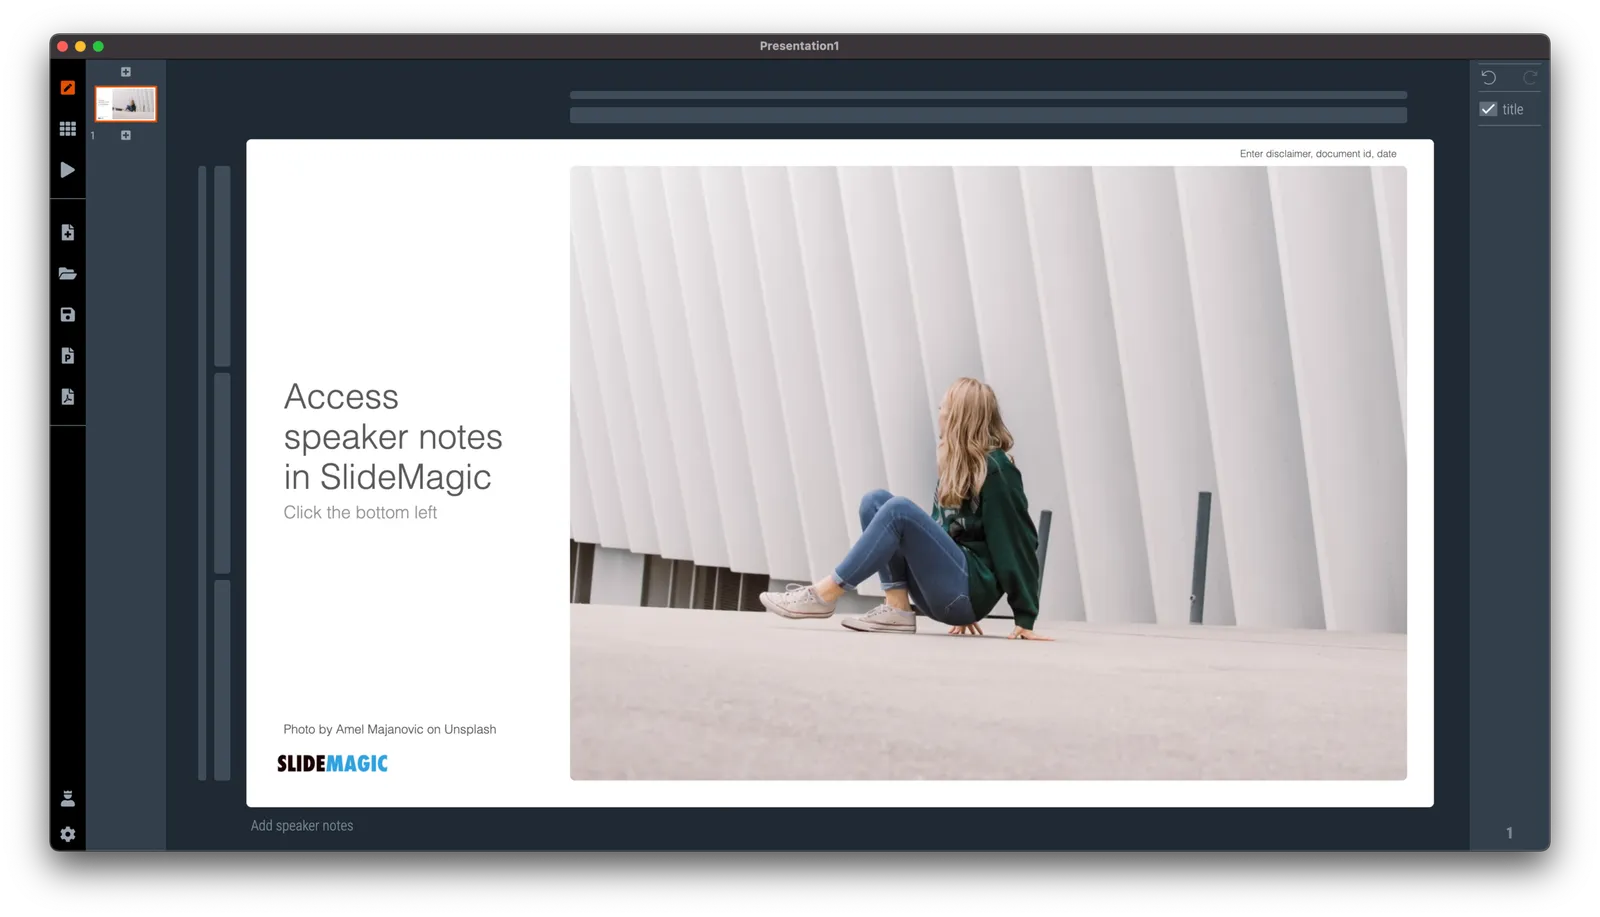
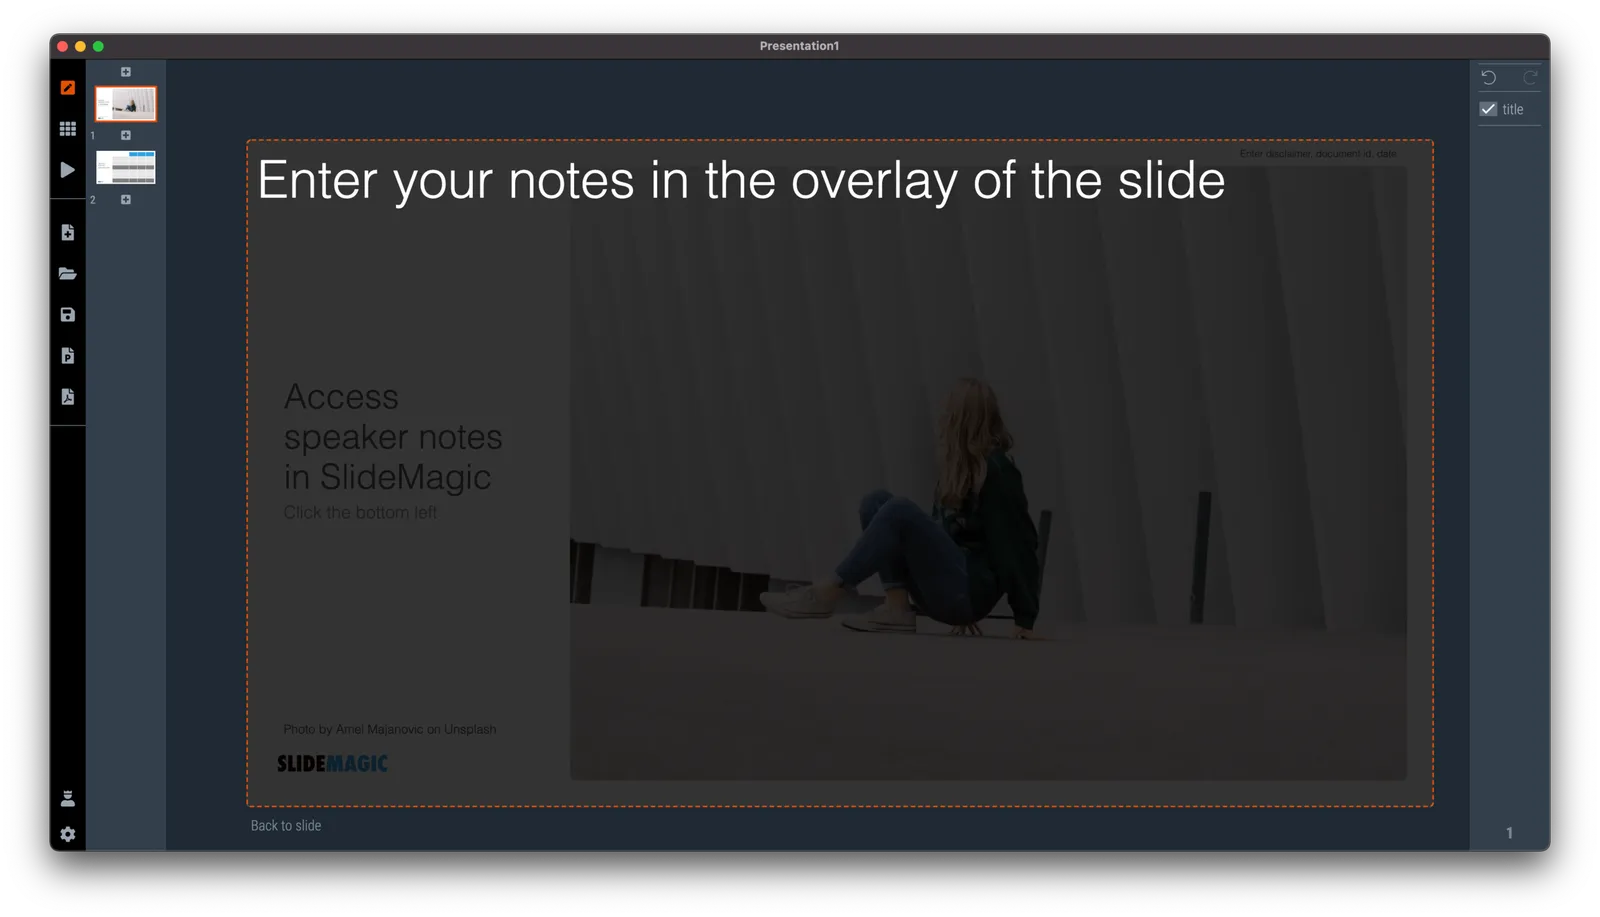
I made the user interface for speaker notes a bit clearer in version 2.6.12 of SlideMagic. The mysterious bullet point icon at the bottom of the slide has been replaced with a simple text link. Click and you will see a big and bold overlay over the slide where you can add your notes.

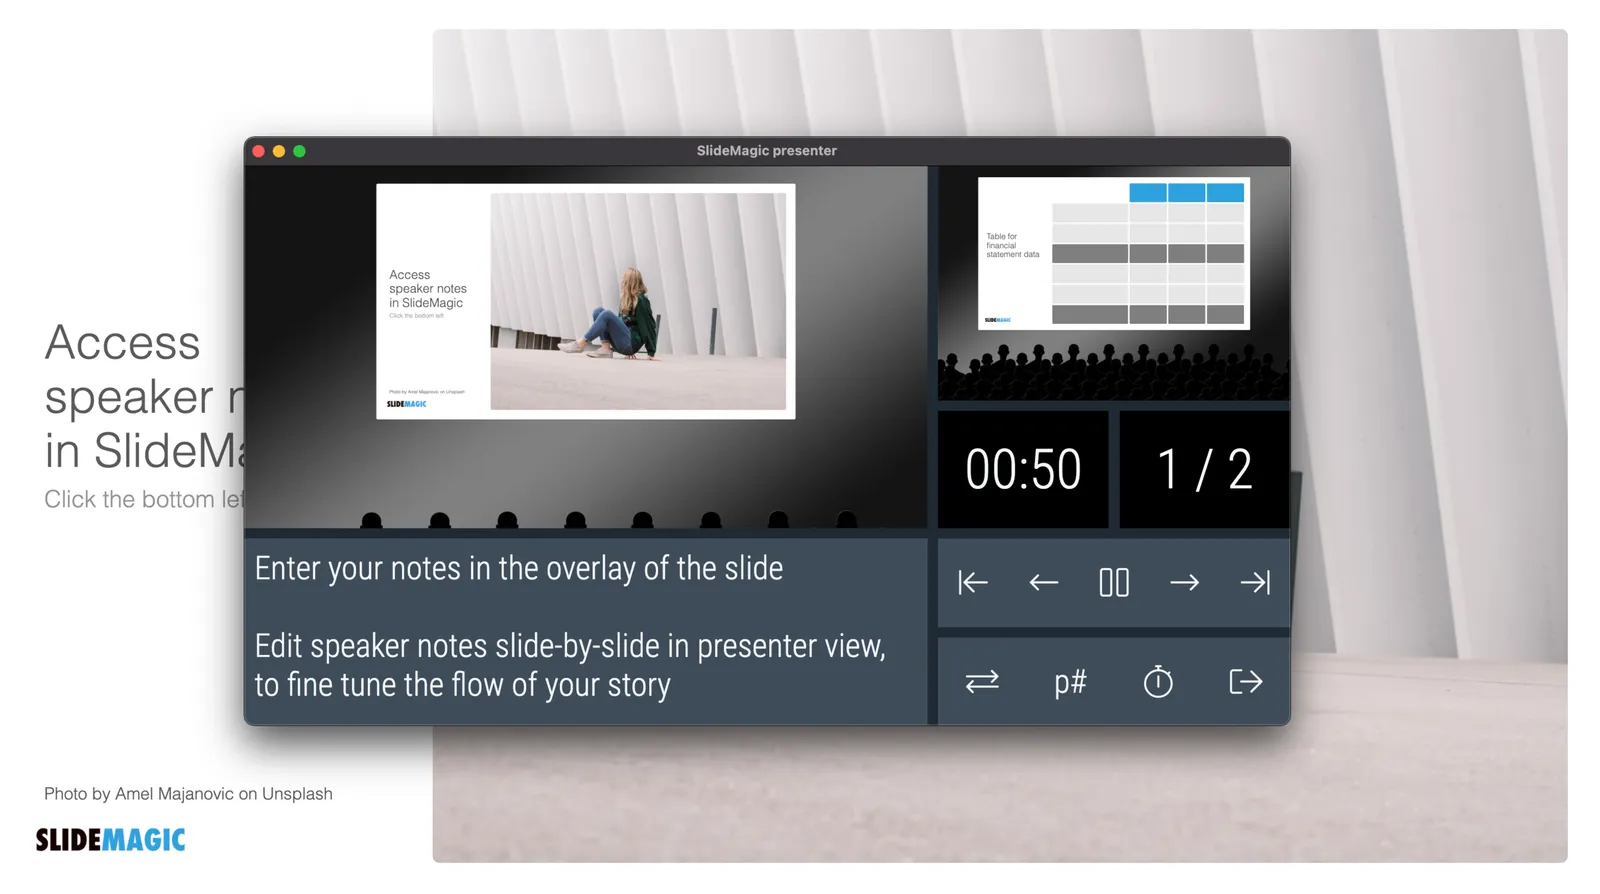
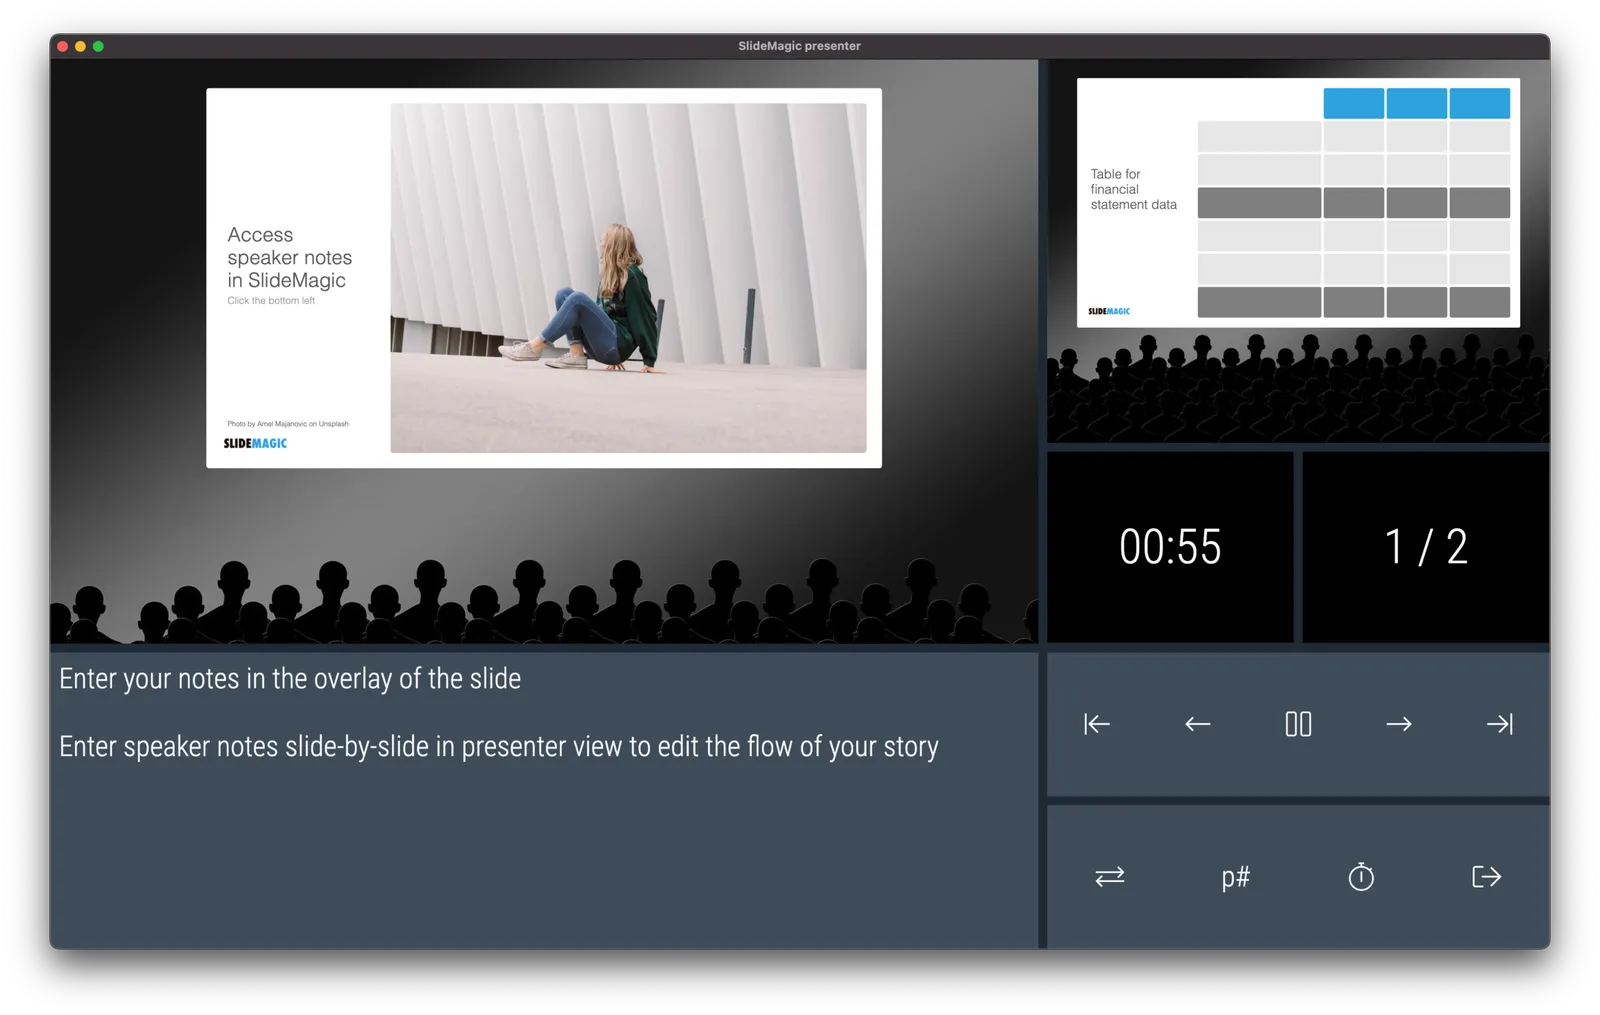
Speaker notes will show up in the presenter view window when you present the slides and are only visible to you the presenter, not to the audience. On a Zoom call, share the audience window to the video call participants, while you keep an eye on your private presenter view with important reminders of the points you want to make when presenting the slide.

In SlideMagic, you can edit your speaker notes also in this presenter view window. This is not only great for last minute fixes of your story, but also gives you a platform to edit the flow of your story slide by slide. Increase the size of your presenter view window, and click through your presentation. You see a small thumb of your slide, an even smaller one of the next slide up, and a big text box to write down your points.

When you return to the normal view of the slide, you will see that the speaker note edit link has changed colour, to remind you that there are speaker notes in this slide. This is important when you share .magic files with other users, because they will be able to read those speaker notes as well. (This prevents you from sending “Better not share our 50% churn with investors in the first presentation with investors if they do not ask for it….” to well, an investor attending your first presentation)

Continue reading →
·Layout

A faster way to edit slides

I have made more improvements to the SlideMagic user interface. Is is now easier to select multiple cells, especially in fine grids.

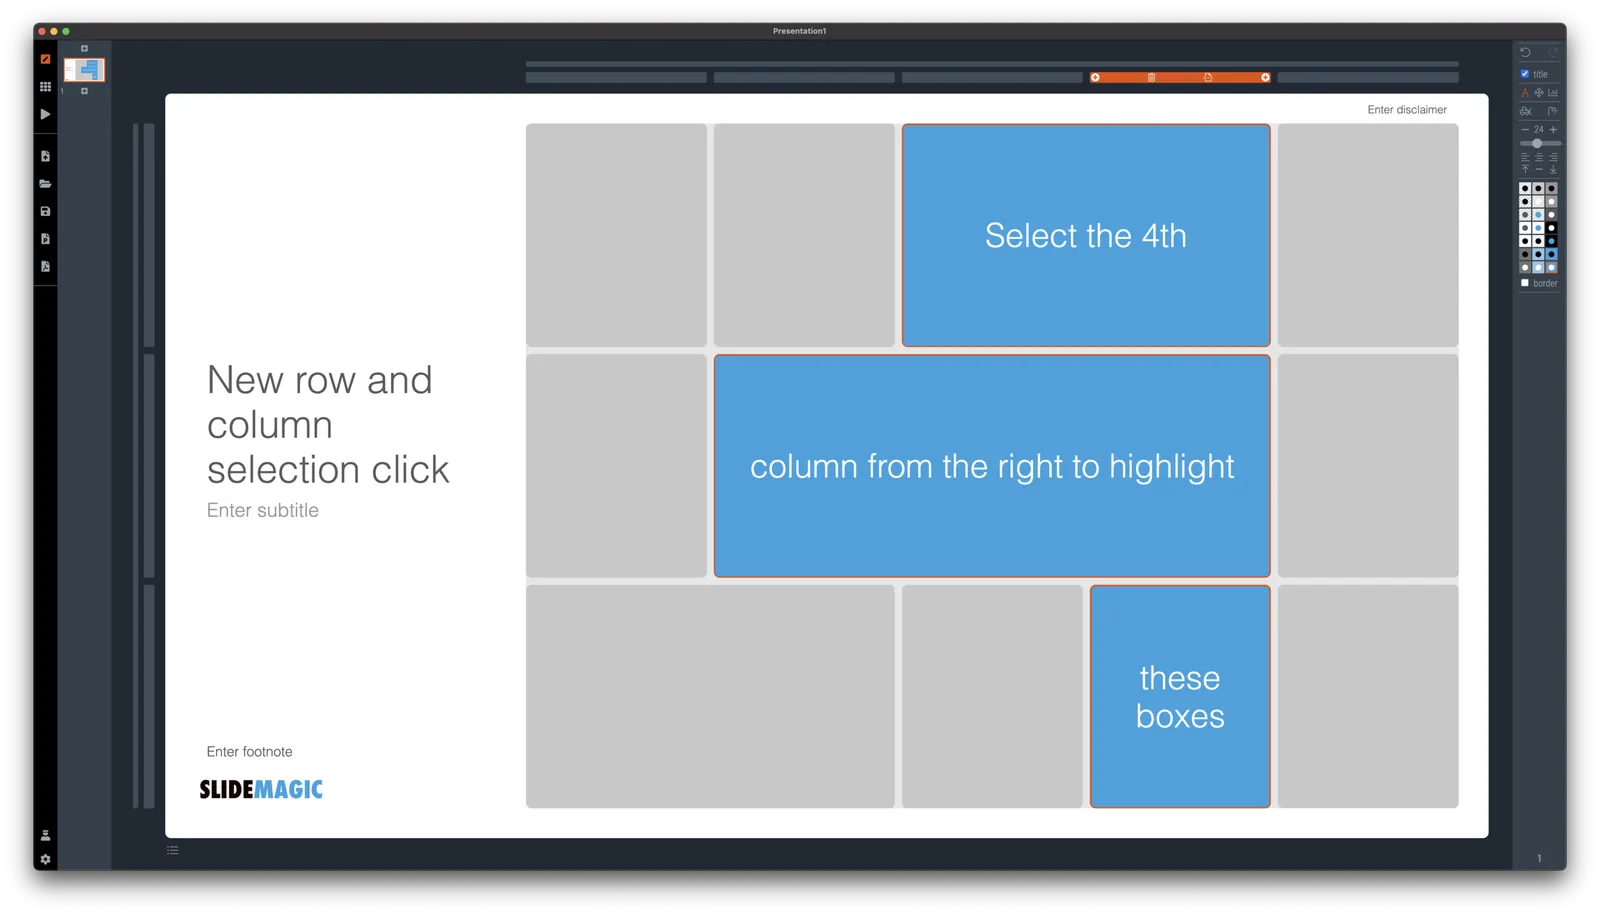
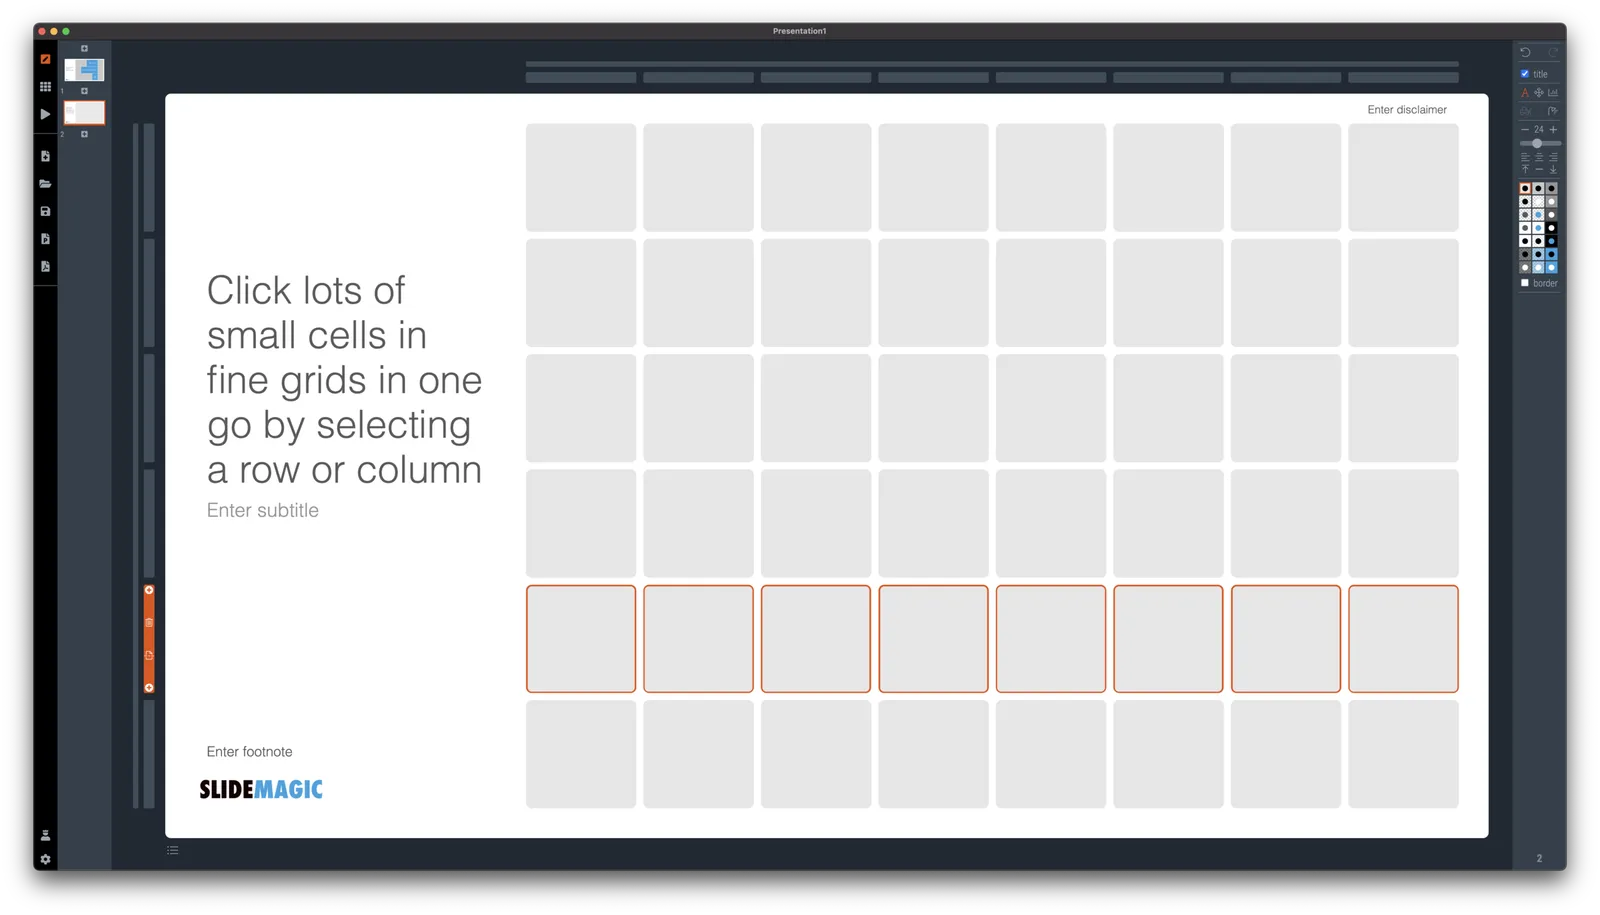
If you select a column marker at the top of the slide, all boxes in your slide that “touch|” the column will be become selected, and you can apply formatting to them in one go (for example, make them all blue).

The same applies for rows, click a row marker, and all relevant boxes in the row line up.

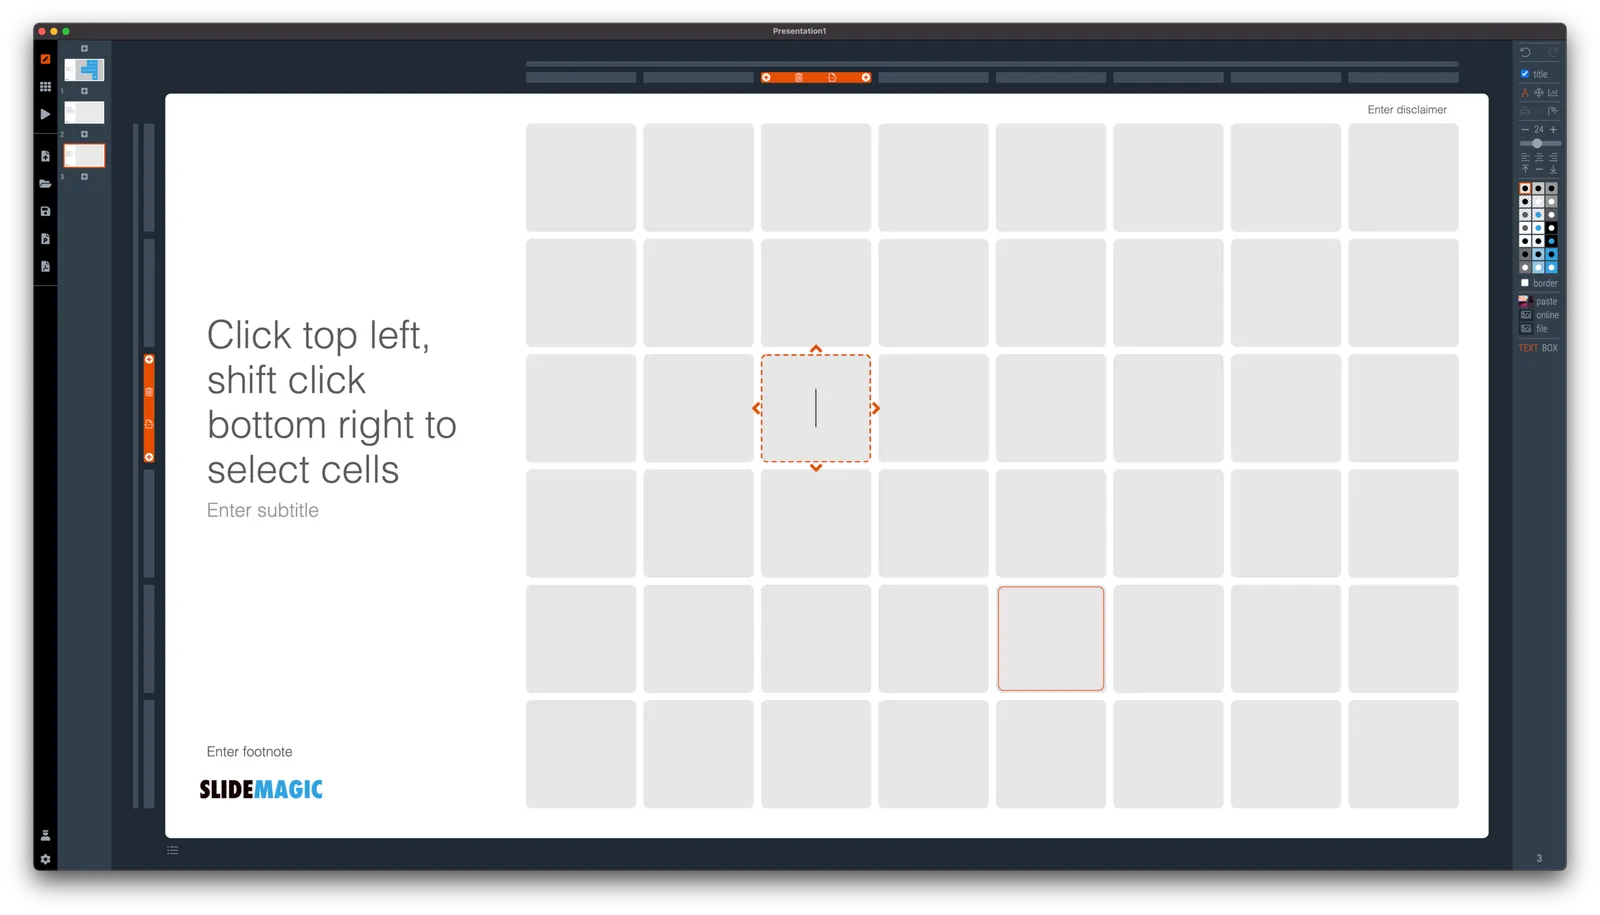
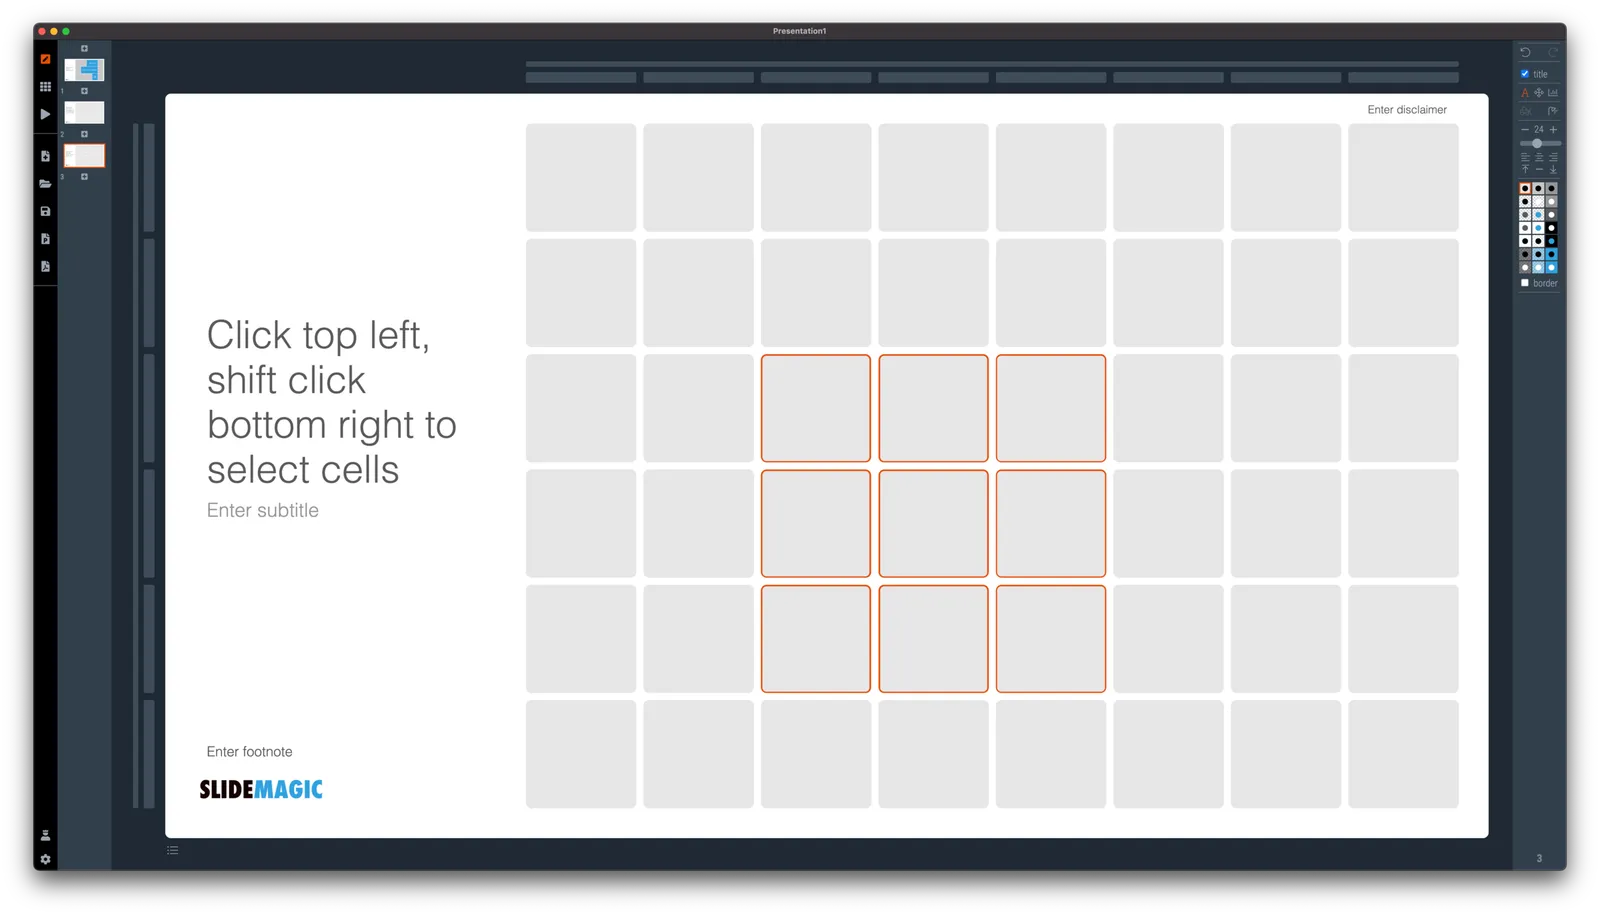
Finally, you can select whole areas of boxes by first clicking a top-left element, then clicking a bottom-right element, and SlideMagic will light up all the boxes that are in between. See the example below.

·SlideMagic

New 'no-title' layout

SlideMagic works with fixed positions for slide titles, subtitles, footnotes, and logos. Each slide looks organised, consistent, and the same.

Some slides call out for a slightly differently layout. Tracker pages for example. A simple text box that sites right in the middle of the screen. Up until now, SlideMagic would push these text boxes a bit down or to the right because of the required space for the slide title.

With a very simple check mark, I now created the option to remove titles from the slide on a slide-by-slide basis. It is a tiny adjustment to the user interface that can improve the look of layouts significantly. I am still putting a high hurdle when it comes to complicating SlideMagic. This is definitely not a complication!

While the user interface adjustment is easy, behind the scenes, there is a lot going on. Removing the the titles from a slide requires recropping of all the images on a slide. With SlideMagic’s new automatic cropping algorithm, this has now become possible. Imagine doing this for a slide with 40 client logos in a regular presentation design software, after which you come to the conclusion that the slide looked better with a title: re-cutting, re-cropping, re-distributing 40 images again. In SlideMagic, this is a button click.

You can check out the new features as of version 2.6.9

Photo by Boris Smokrovic on Unsplash

·Investor presentation

Should you put 'confidential' on every slide of your presentation?

For years I tried to resist the pressure from lawyers to fill every slide with legal disclaimers. They do not look very pretty. But SlideMagic aims to be practical and as of version 2.6.8, you can do so, if you have to.

To make them still look OK:

  • I made the font really small, in all caps, so the disclaimer looks more like some sort of a document id
  • All disclaimers are exactly the same and at exactly the same place
  • The placement of the disclaimer changes based on what sort of aspect ratio / slide layout you are using

Should you put disclaimers? (Warning, I am not a lawyer). There are certain situations where you probably should. Certain confidentiality agreements state that information needs to be marked as being confidential to be covered by the agreement.

But, if there is no such agreement in place, I am not sure how much leverage you have if people are sharing pages despite all the scary warnings on the page. Also, if you are using slides with a big TED talk or product launch, the whole world can see them, making the disclaimers pretty useless.

Most investors do not sign NDAs, and you actually you want the junior VC to forward your pages to a partner in the firm. Assume that when you send your slides to investors, there can be leaks, so be careful what you put in there. In most cases the actual content of your super secret technology will not make the difference when it comes to evaluating your pitch deck in the early stages of the investment process.

Continue reading →
·SlideMagic

Making SlideMagic more Zoom-friendly

Up until now, playing a SlideMagic presentation would trigger a full screen view of your slide, plus second full screen window on the presenter machine (if available). Switching back and forth to full screen, swapping monitors can be a bit disorienting, and in the area of Zoom, it does not work well when you want to share your audience window, but not your presenter view.

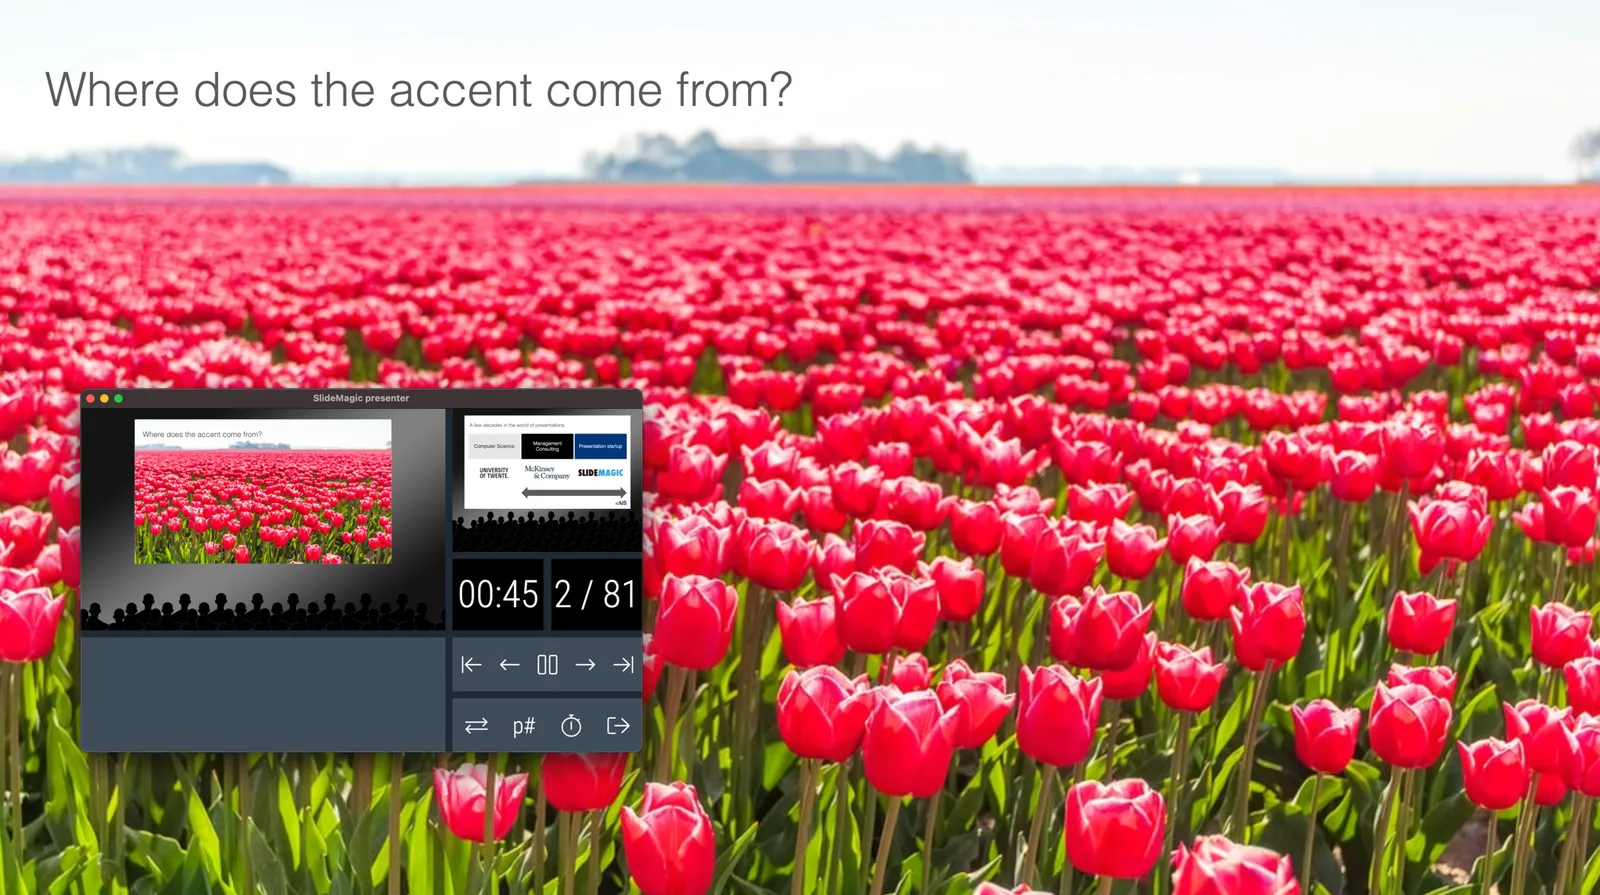
As of version 2.6.3, entering a presentation will now always trigger 2 windows (not in full screen): the slide and a smaller presenter view with timer, counter, and a thumb of the next slide coming up. You can re-rearrange them to monitors as you see fit, and go to full screen manually if needed.

This also ‘solves’ the issue of deciding which screen is the audience screen, and which one the presenter’s when many on screen projectors (not replaced very frequently) have lower screen resolutions than most computers.

·Layout

How to crop headshots in your presentation

The ideal design for a slide that shows your team is a group picture, all taken together. Unfortunately, these are almost impossible to produce. Teams change, and people are hardly ever in the same room (especially now with the virus).

The next best thing is a collage of headshots. Professional graphics designers have a specific approach to line these up properly:

  • Make sure that the eye line of all the head shots is more or less the same (at 25-33% of the image height
  • Make sure that the sizes of the heads are more or less the same

In PowerPoint and Keynote, this is an absolute pain to do. Getting different images to have the exact same size is tricky. Cropping images to position eye ines is tricky to do, and might undo part of the work that you did to get them to be all the same size.

In SlideMagic, things are easier, because it works with fixed shapes and smart cropping.

Below I plopped in 3 portrait images from the built-in image search engine of SlideMagic. In 2 of the 3 cases, the “AI” smart cropping algorithm did already a reasonable job, in the last case, totally not. But first things first, all images have the exact same size, and are spaced out absolutely perfect.

Next, we are going to drag the central dot at eye level for each of our team members and drag the images inside their boxes so the eye lines line up.

Continue reading →