SlideMagic tutorial·Part 1 of 3

The basics

Tutorial contents

We are making frequent updates to SlideMagic. If you are experiencing bugs or other issues, the first step to take is to install the latest version of the software. Go to the download page, run the installer, and the latest software will be installed on your computer while preserving your settings. If you are still stuck, reach out to us at [email protected].

Installing the software

SlideMagic is a desktop app, download the installer for Mac or Windows, and double click the file and follow the installation instructions.

Modes: edit, story, play, account, and settings

SlideMagic has a number of screen modes. When you open the app for the first time, you are in edit mode. Use the icons in the vertical menu strip on the left to switch to story, play, account, or settings mode.
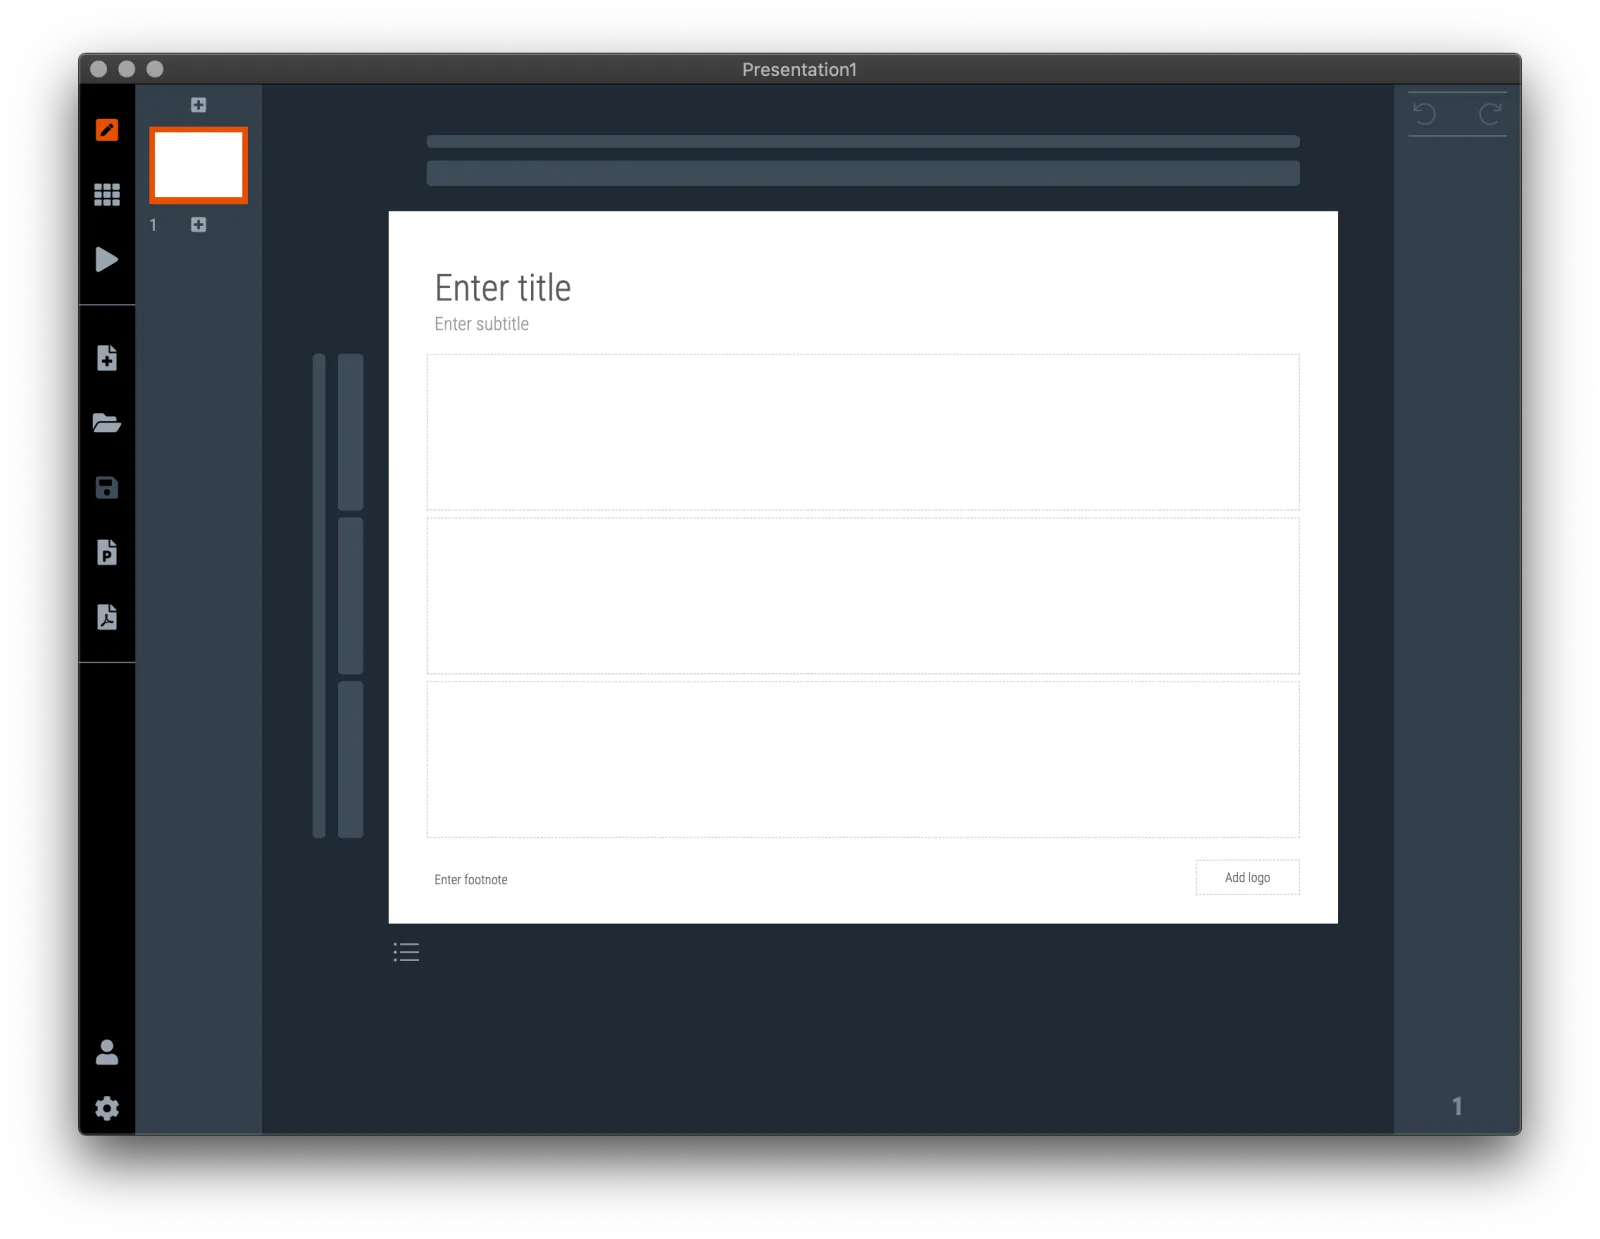
  Edit : edit the selected slide in the main windows. Use the side panel on the left to select a different slide, re-arrange your slides, or add new slides.
Edit : edit the selected slide in the main windows. Use the side panel on the left to select a different slide, re-arrange your slides, or add new slides.
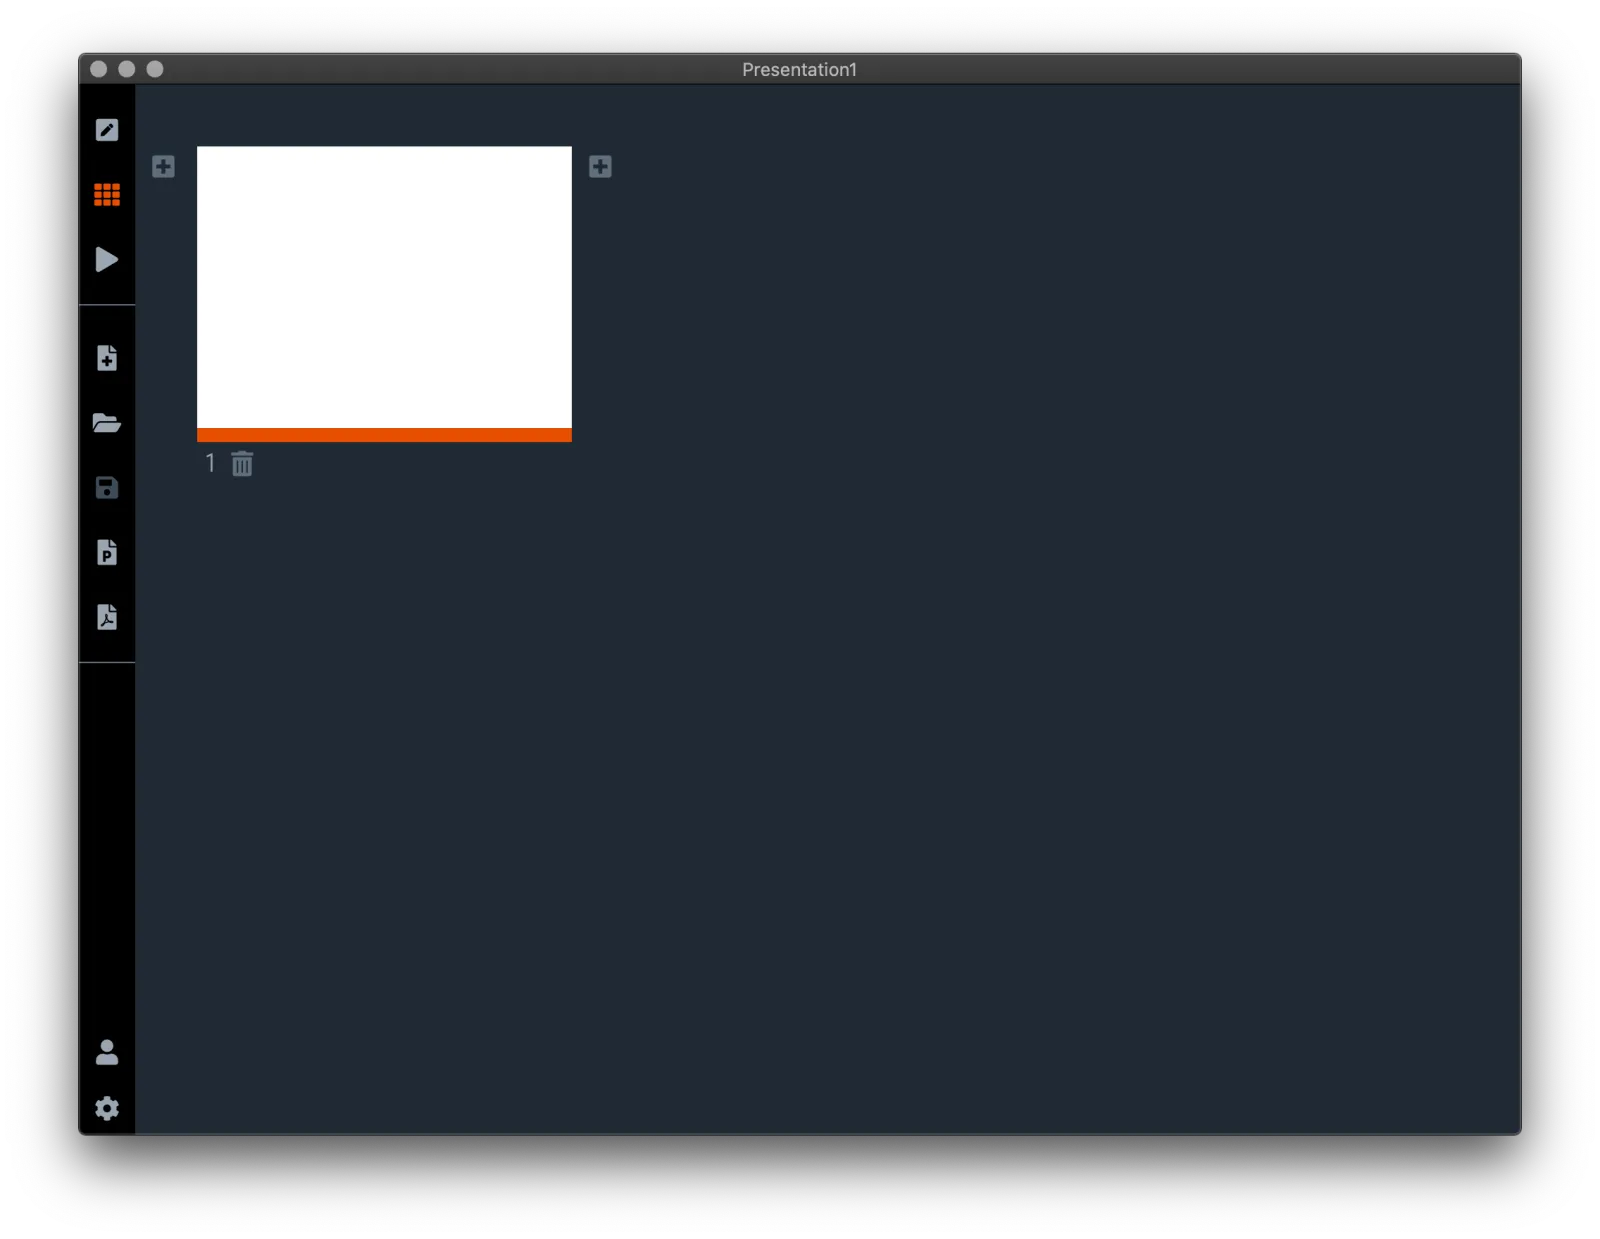
  Story : re-arrange your slides, add new slides to your presentation
Story : re-arrange your slides, add new slides to your presentation
  Play : opens the slide in full screen mode. If you have a second monitor attached, one of the screens will have ‘presenter view’,
Play : opens the slide in full screen mode. If you have a second monitor attached, one of the screens will have ‘presenter view’,
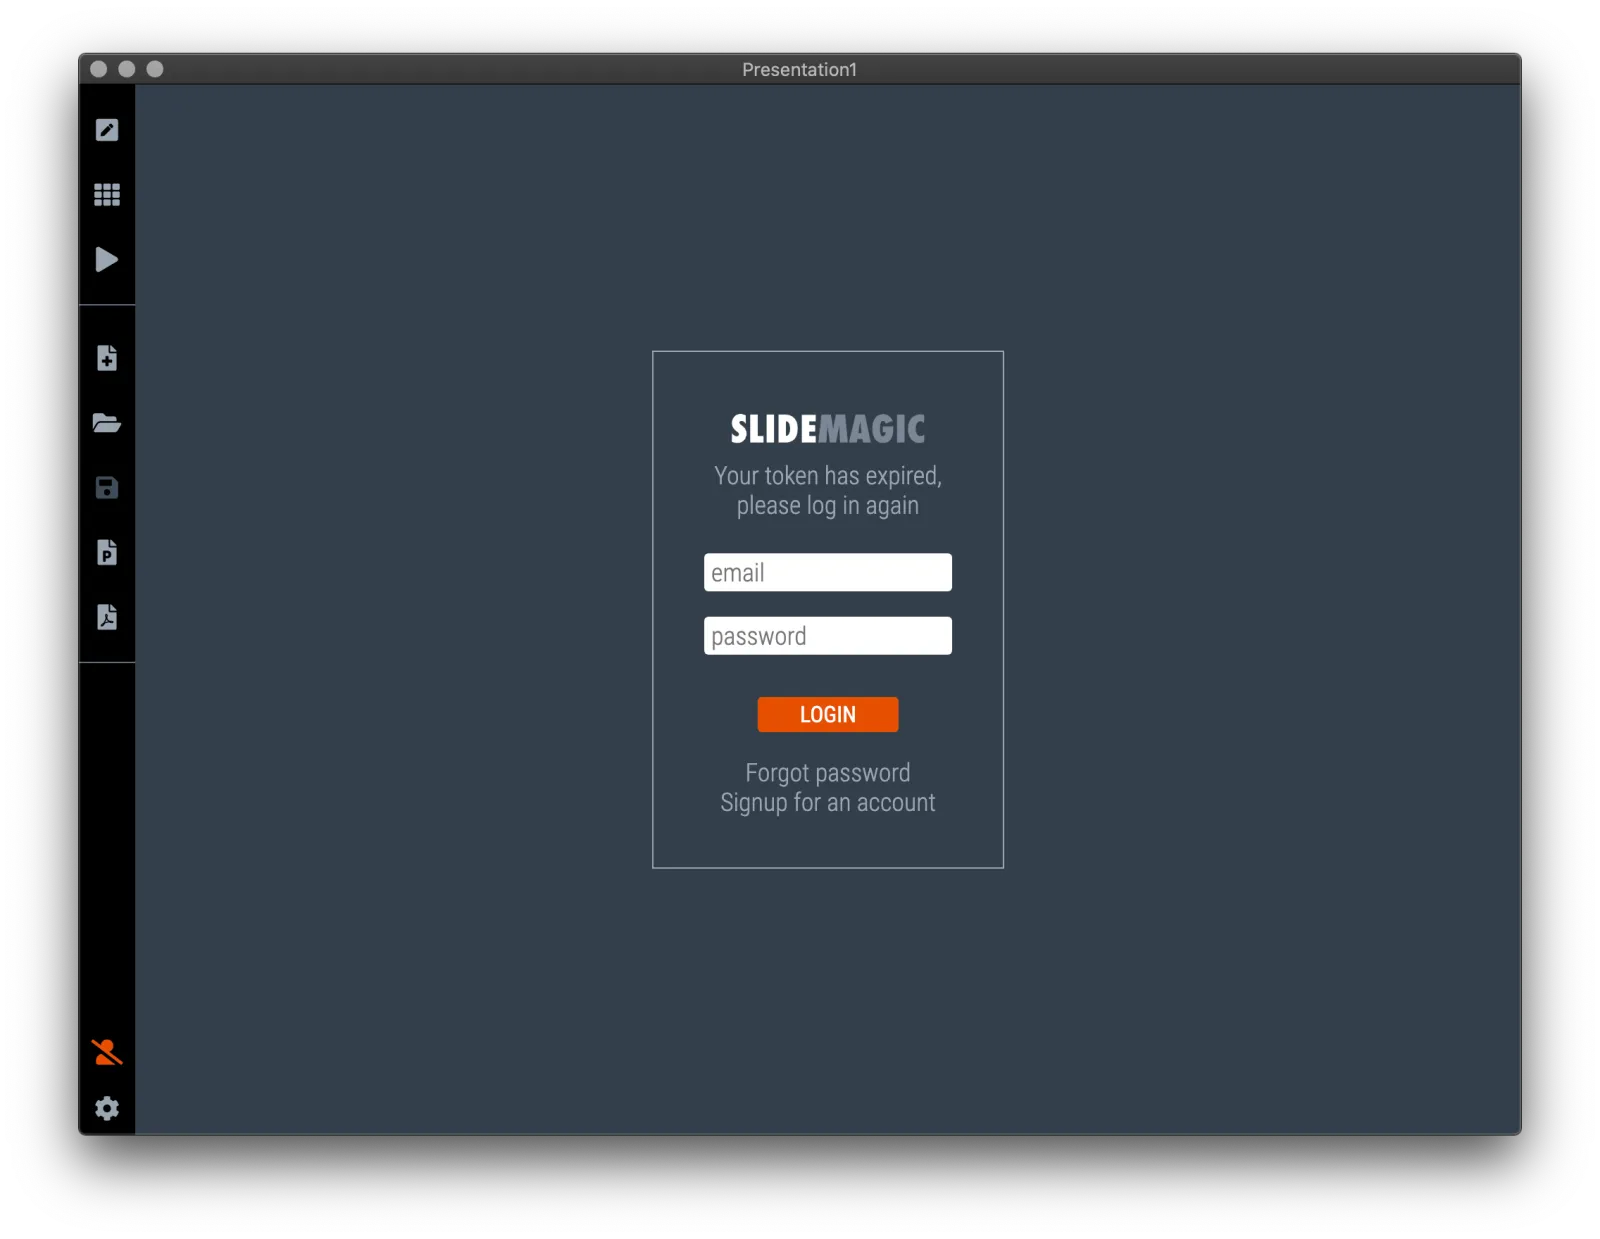
  Account : here you can log in to your SlideMagic account to get access to pro features such as conversion to PowerPoint
Account : here you can log in to your SlideMagic account to get access to pro features such as conversion to PowerPoint
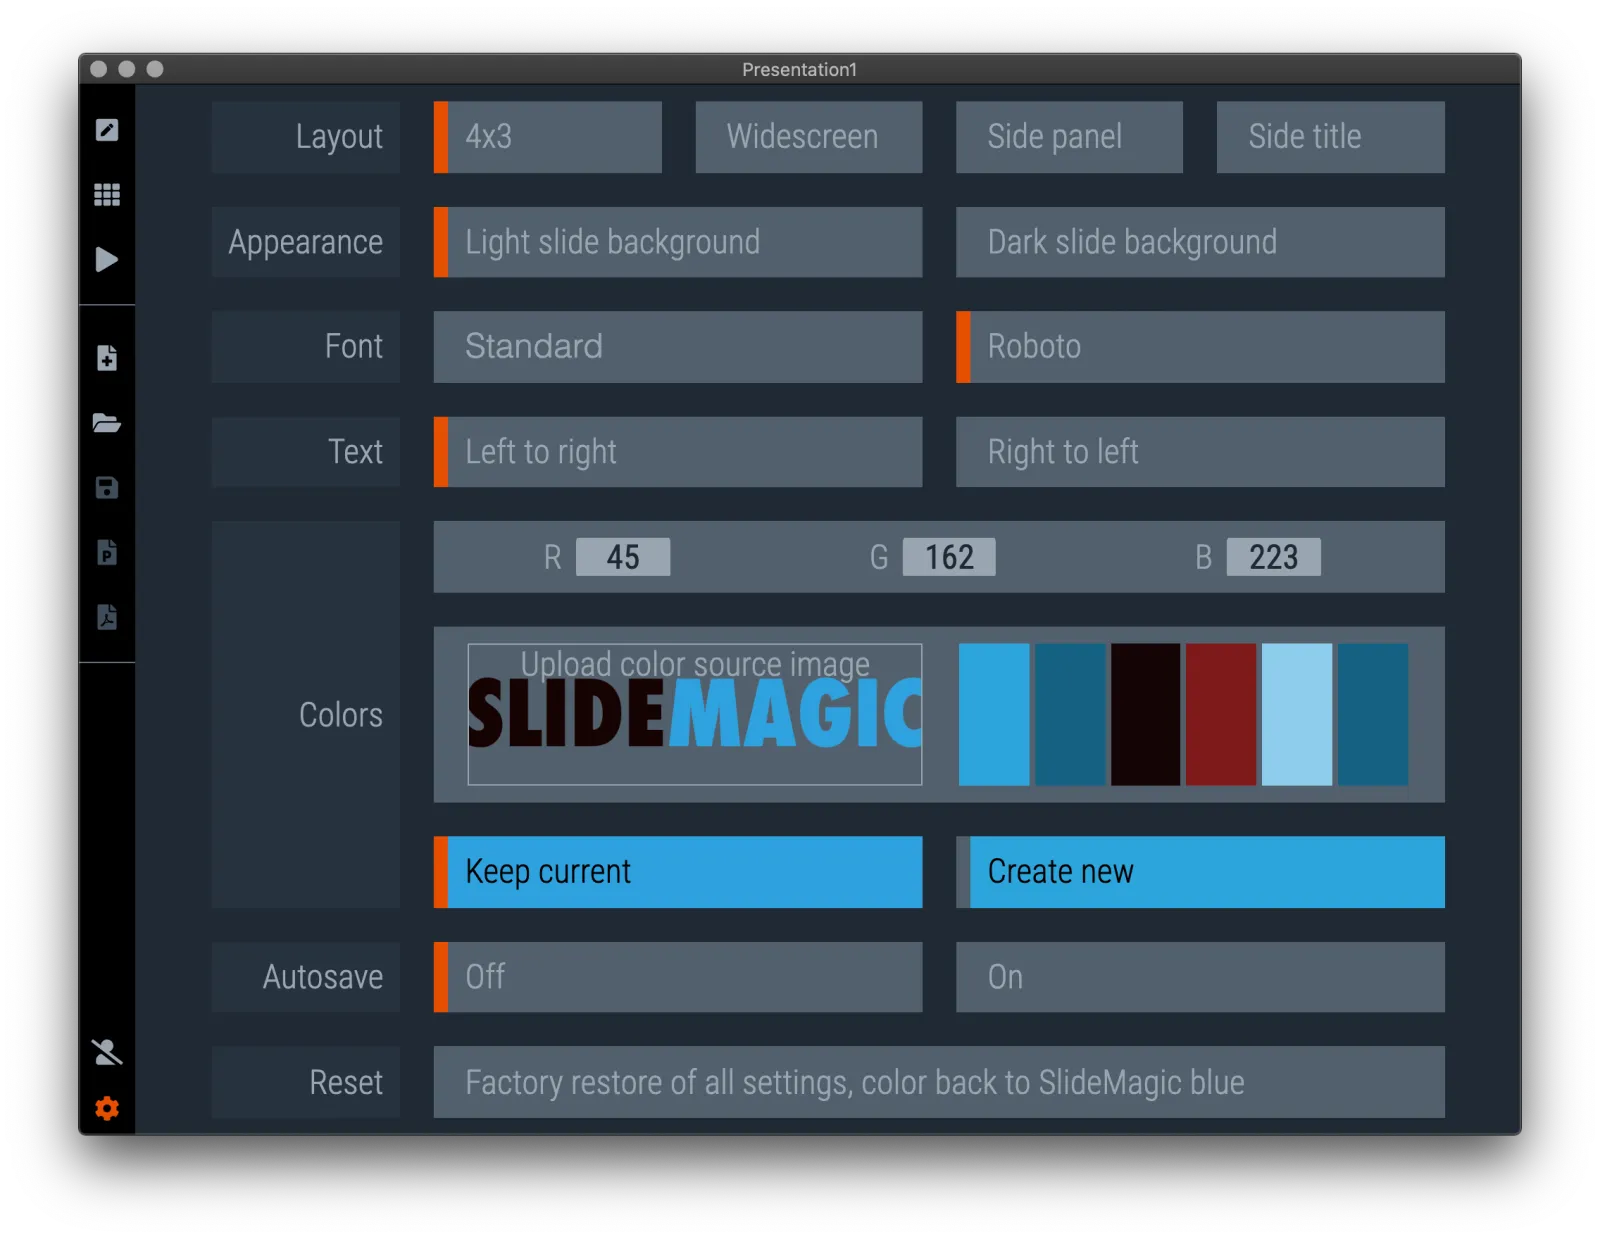
  Settings : change the look and feel of your presentation
Settings : change the look and feel of your presentation

Many of SlideMagic’s features can also be accessed from the dropdown menus in the application’s top window bar. For example, the “file” menu contains functions for opening and saving presentations, and exporting to PowerPoint or PDF formats for example. The “view” menu provides quick access to functions that change the look and feel of your slide such as colour settings and aspect ratios.

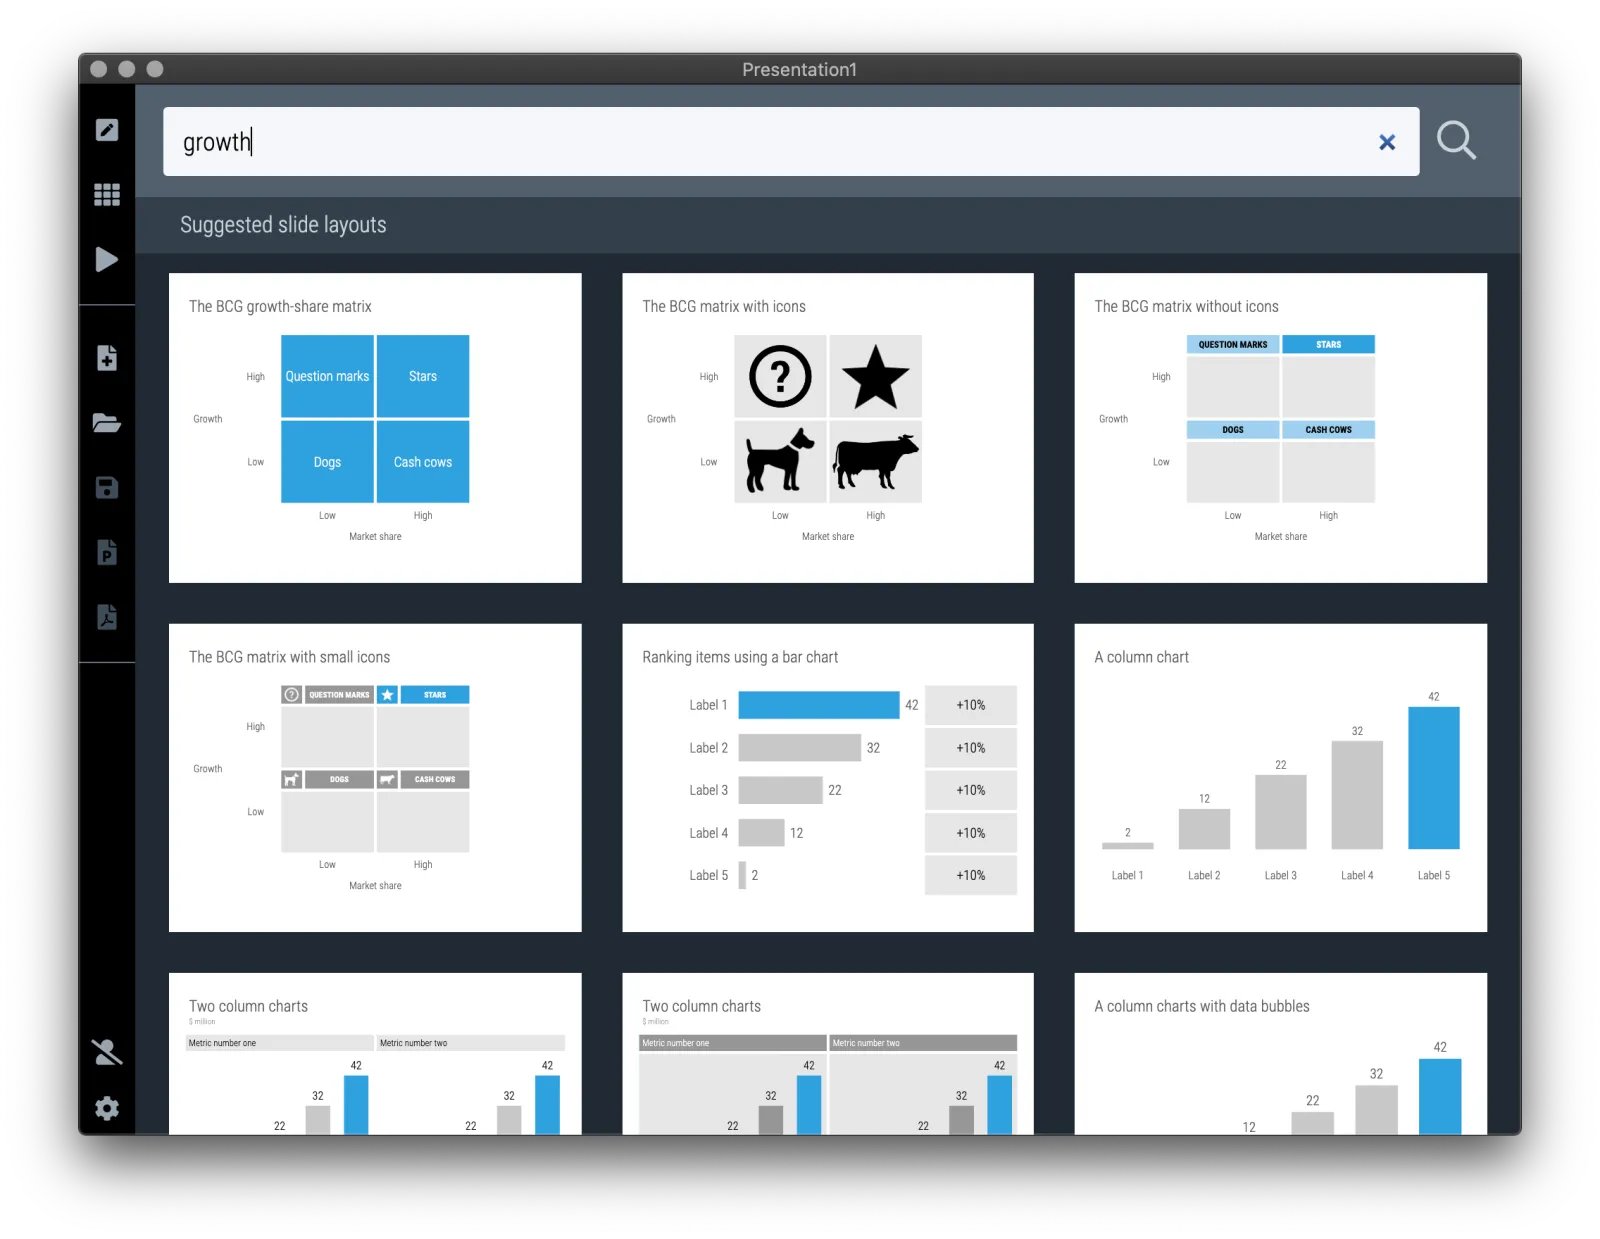
Adding slides by searching the template database

To add a new slide, click “+” in story or the side panel of the edit mode and the template search screen will appear. Enter a search term click on the slide to add it to your presentation. If you are working offline, you can only access the default slides that ship with the app.
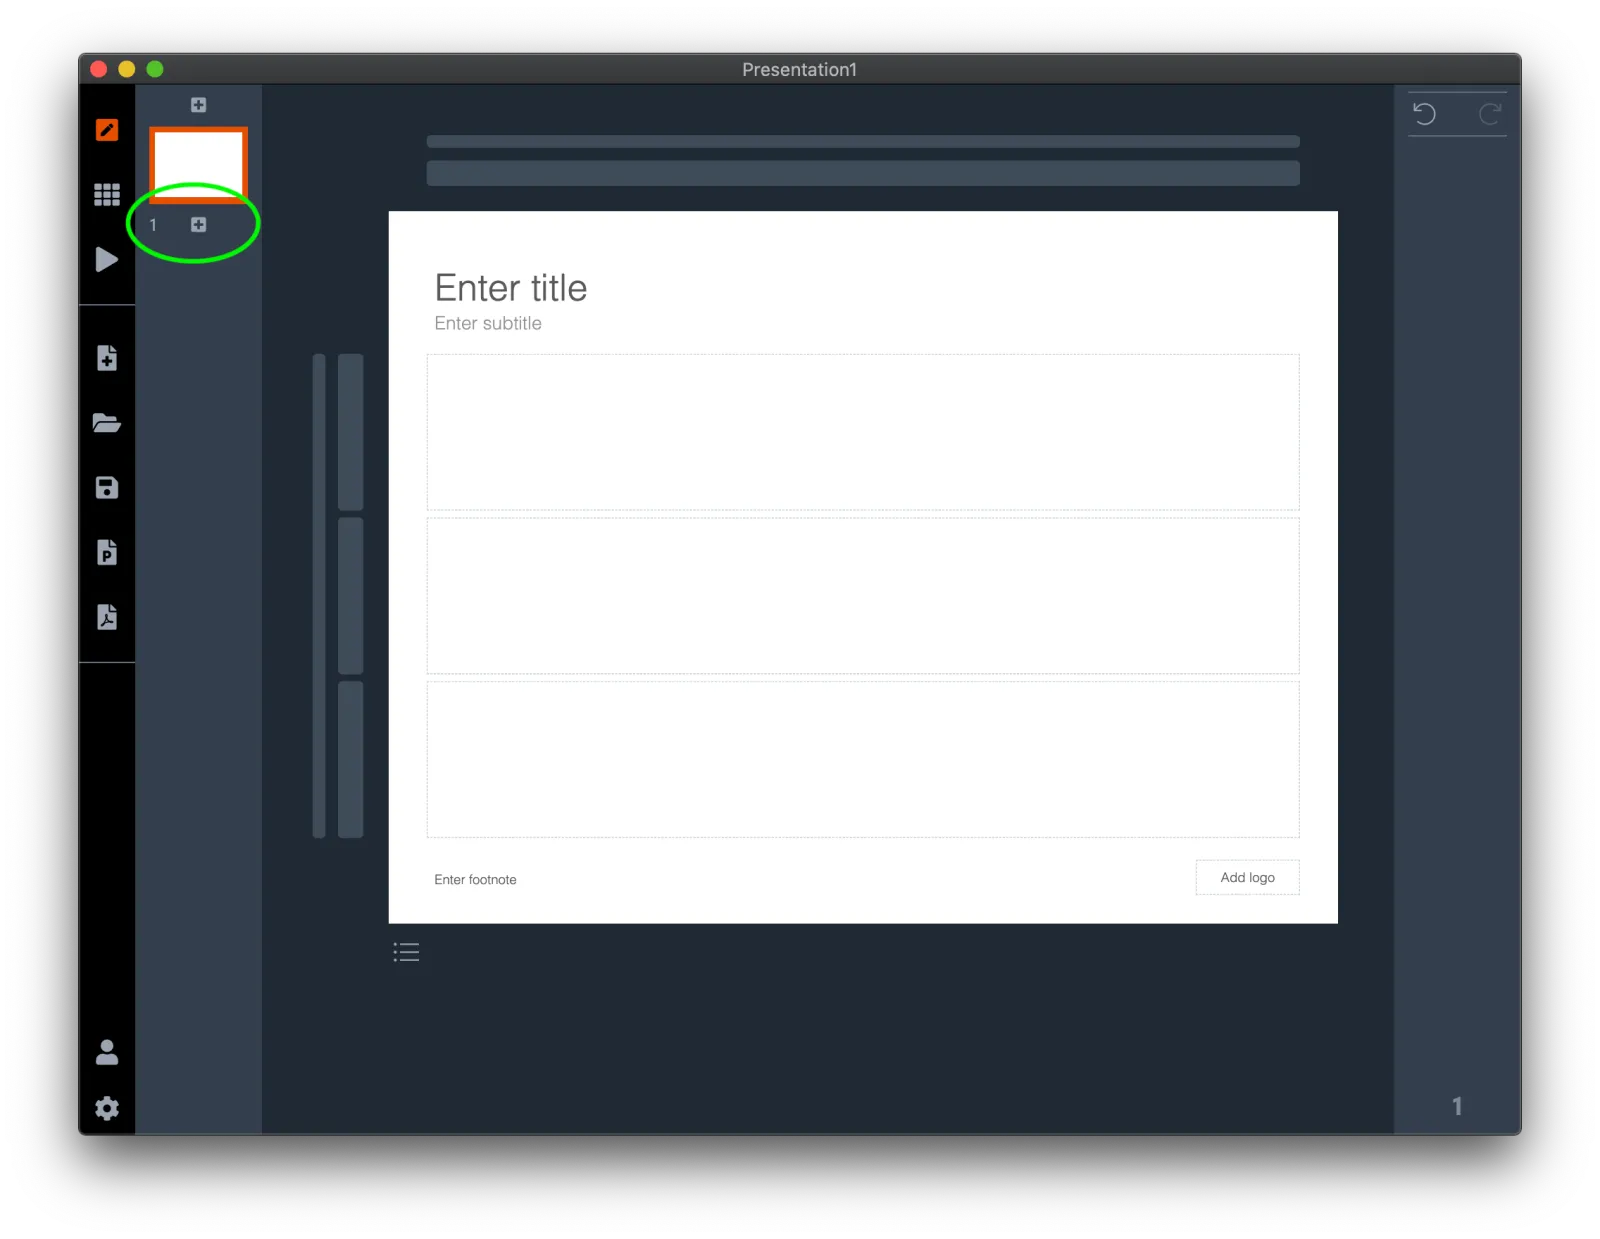
 Add a new slide to the presentation by clicking the “+” in the side panel…
Add a new slide to the presentation by clicking the “+” in the side panel…
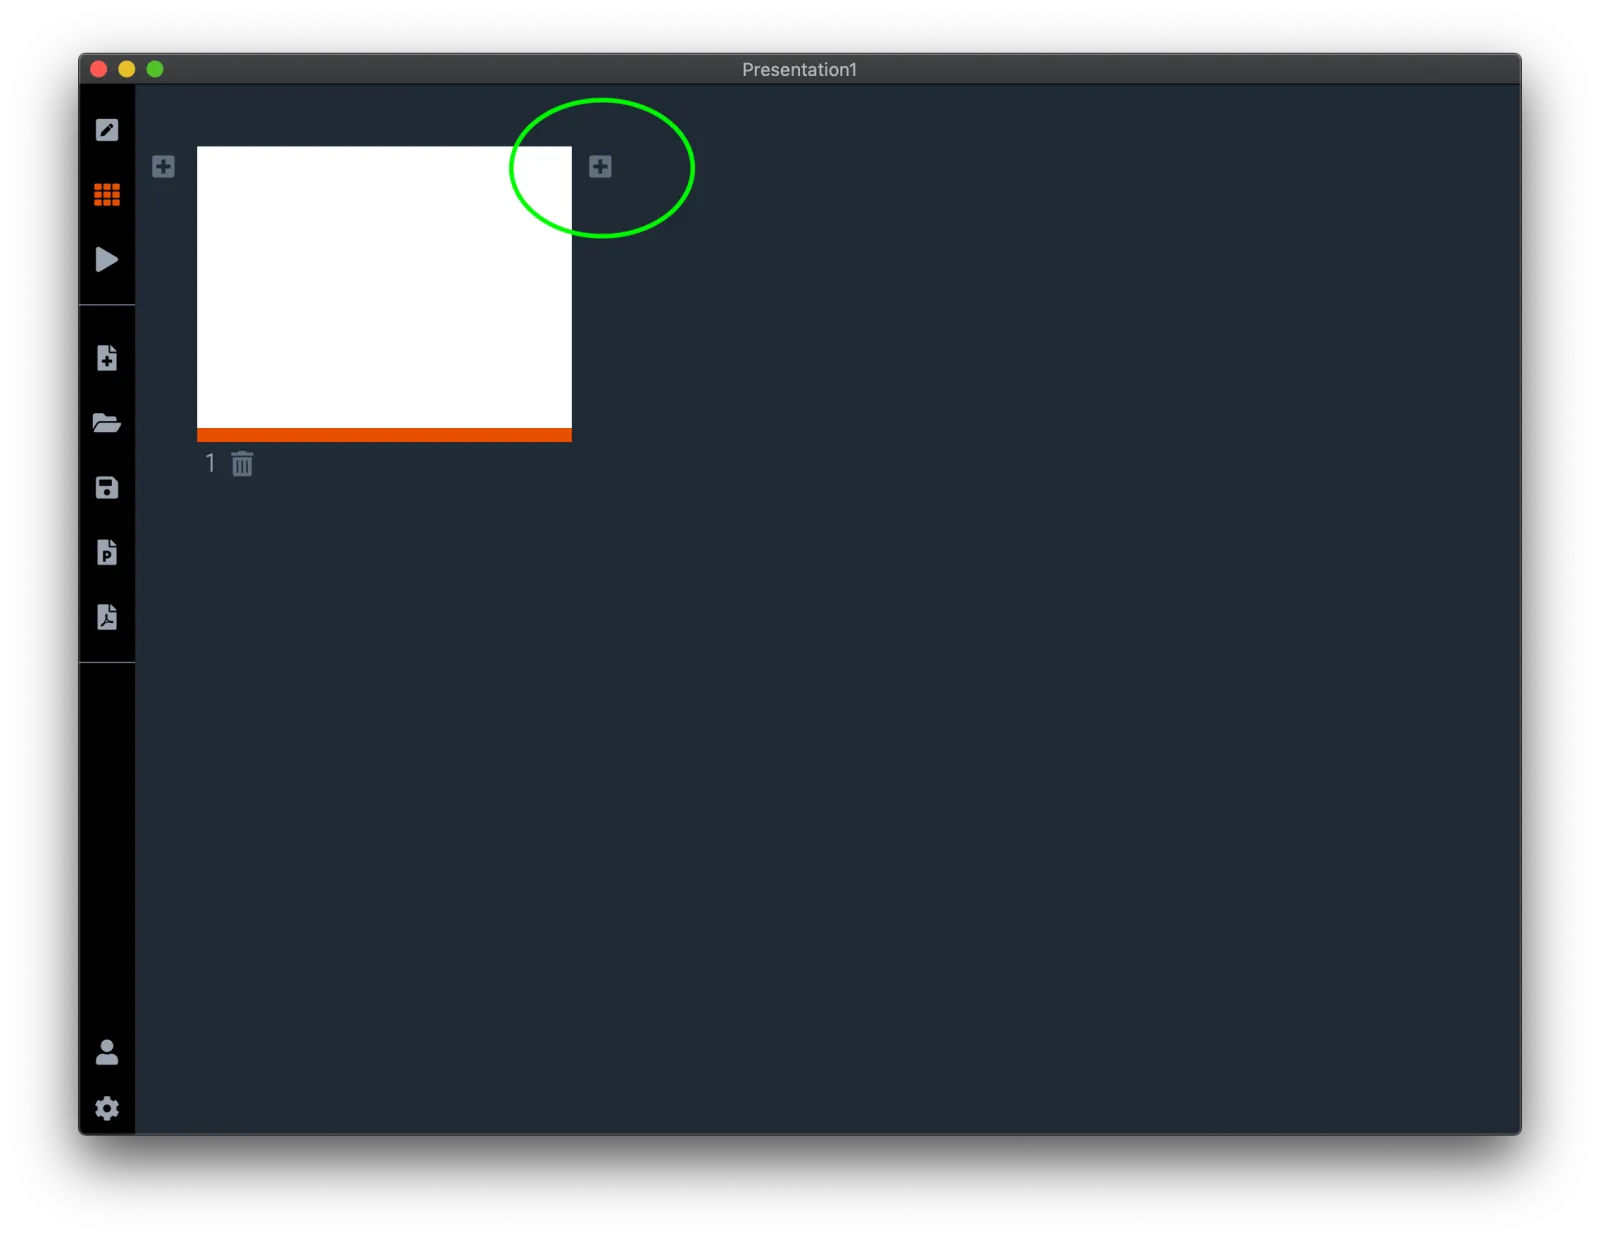
 … or in the story view of the presentation
… or in the story view of the presentation
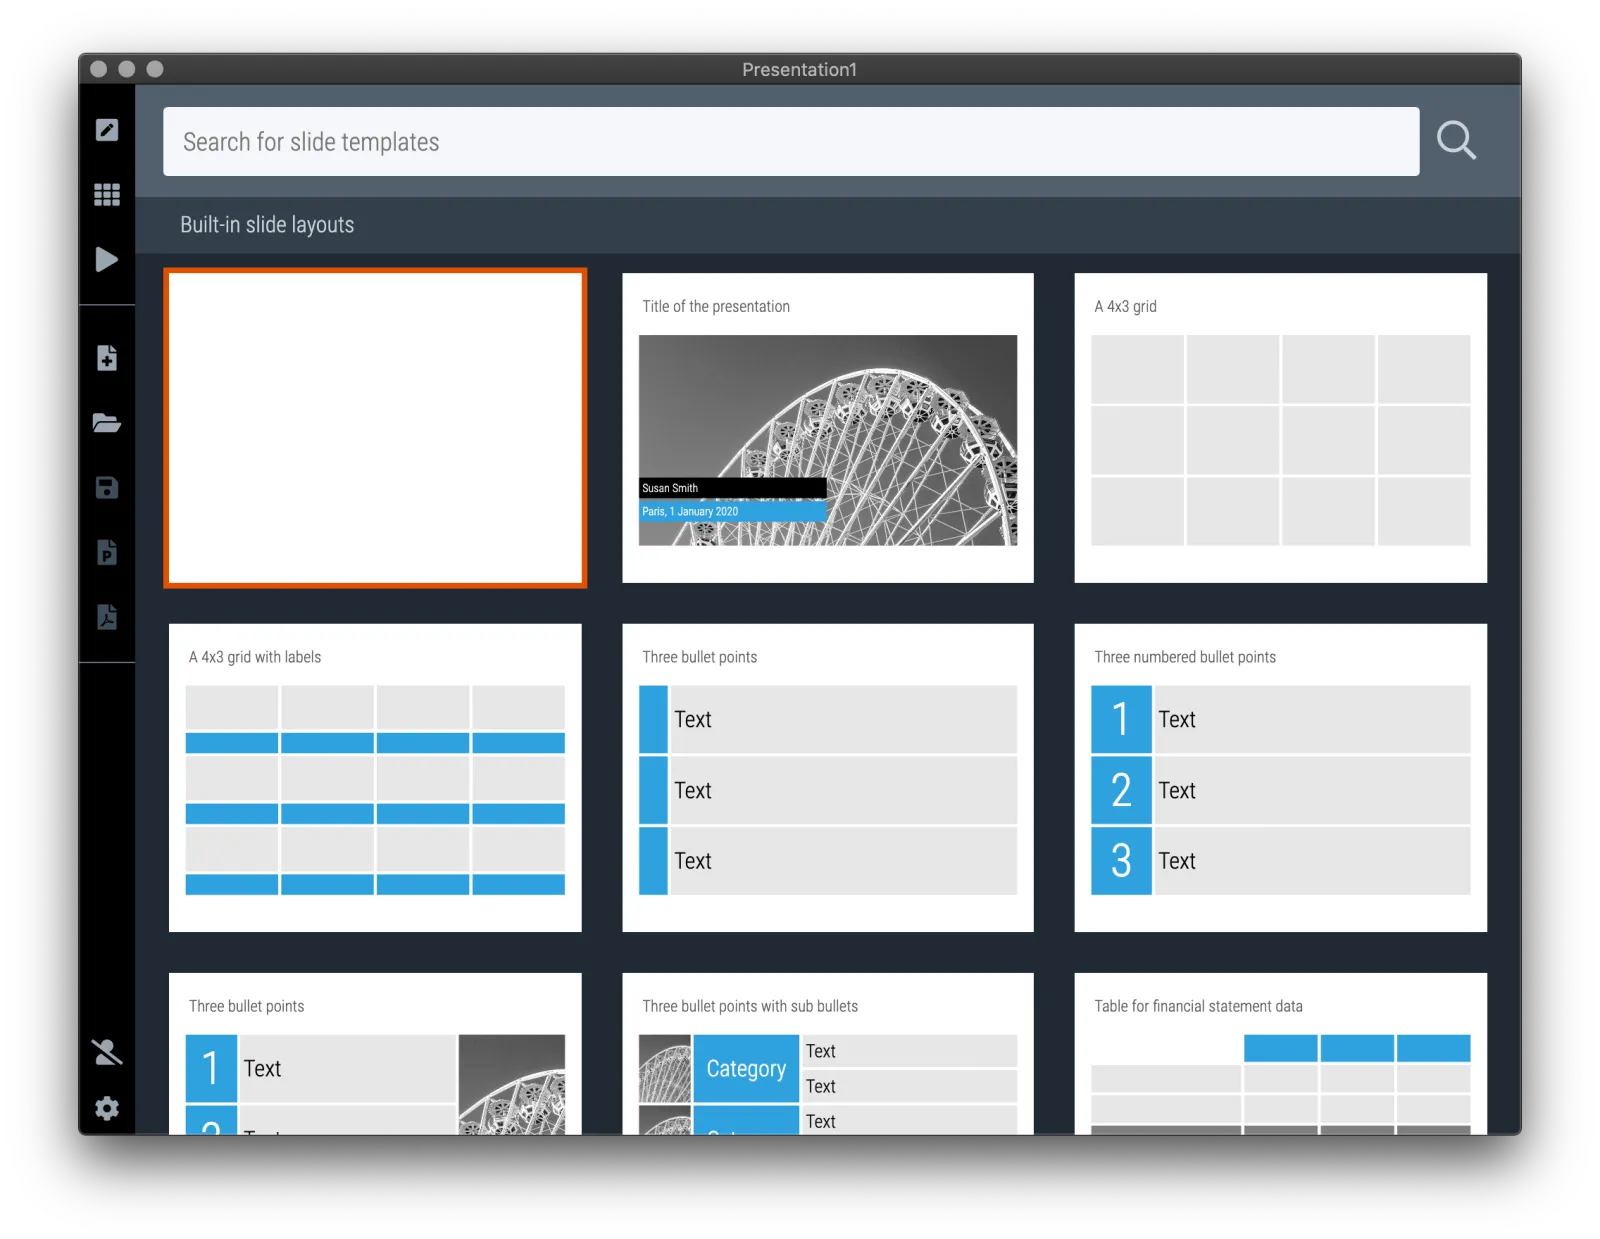
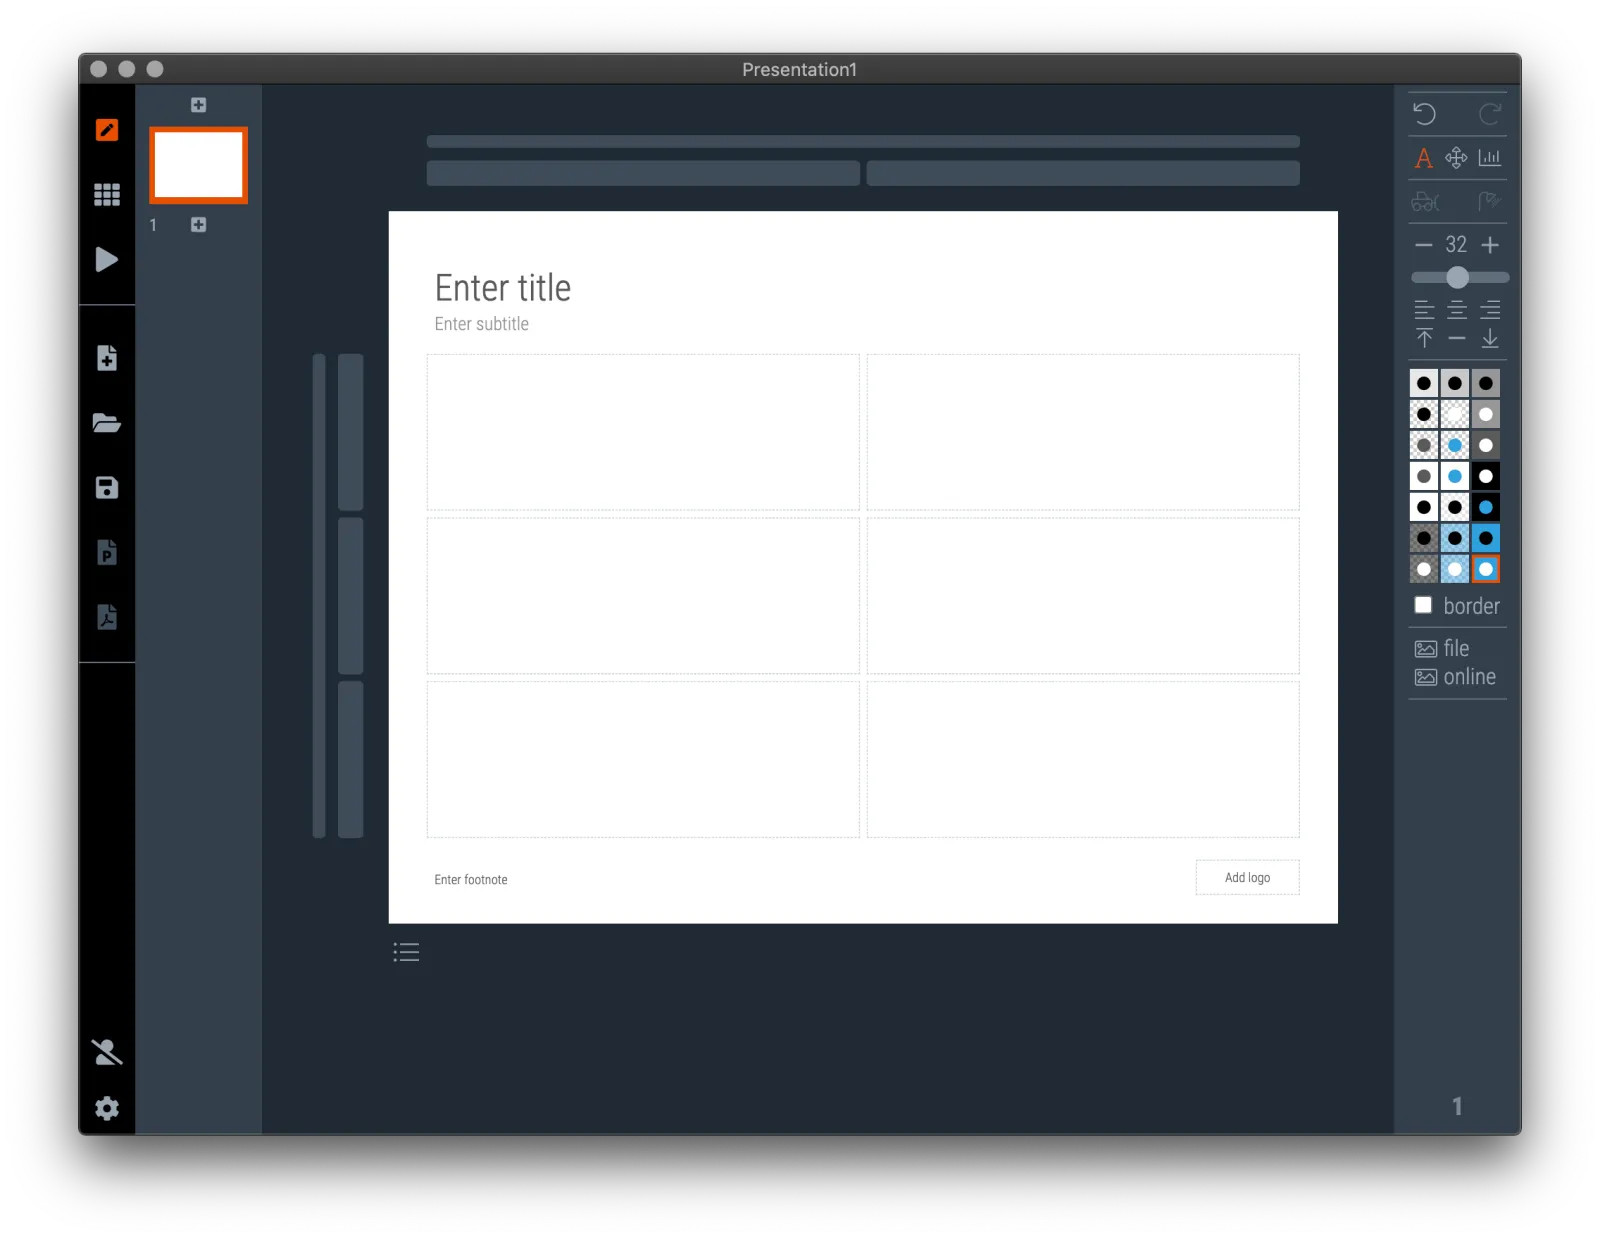
 The default slides of SlideMagic: basic layouts
The default slides of SlideMagic: basic layouts
 Enter a keyword to search the thousands of slides in SlideMagic’s template bank
Enter a keyword to search the thousands of slides in SlideMagic’s template bank
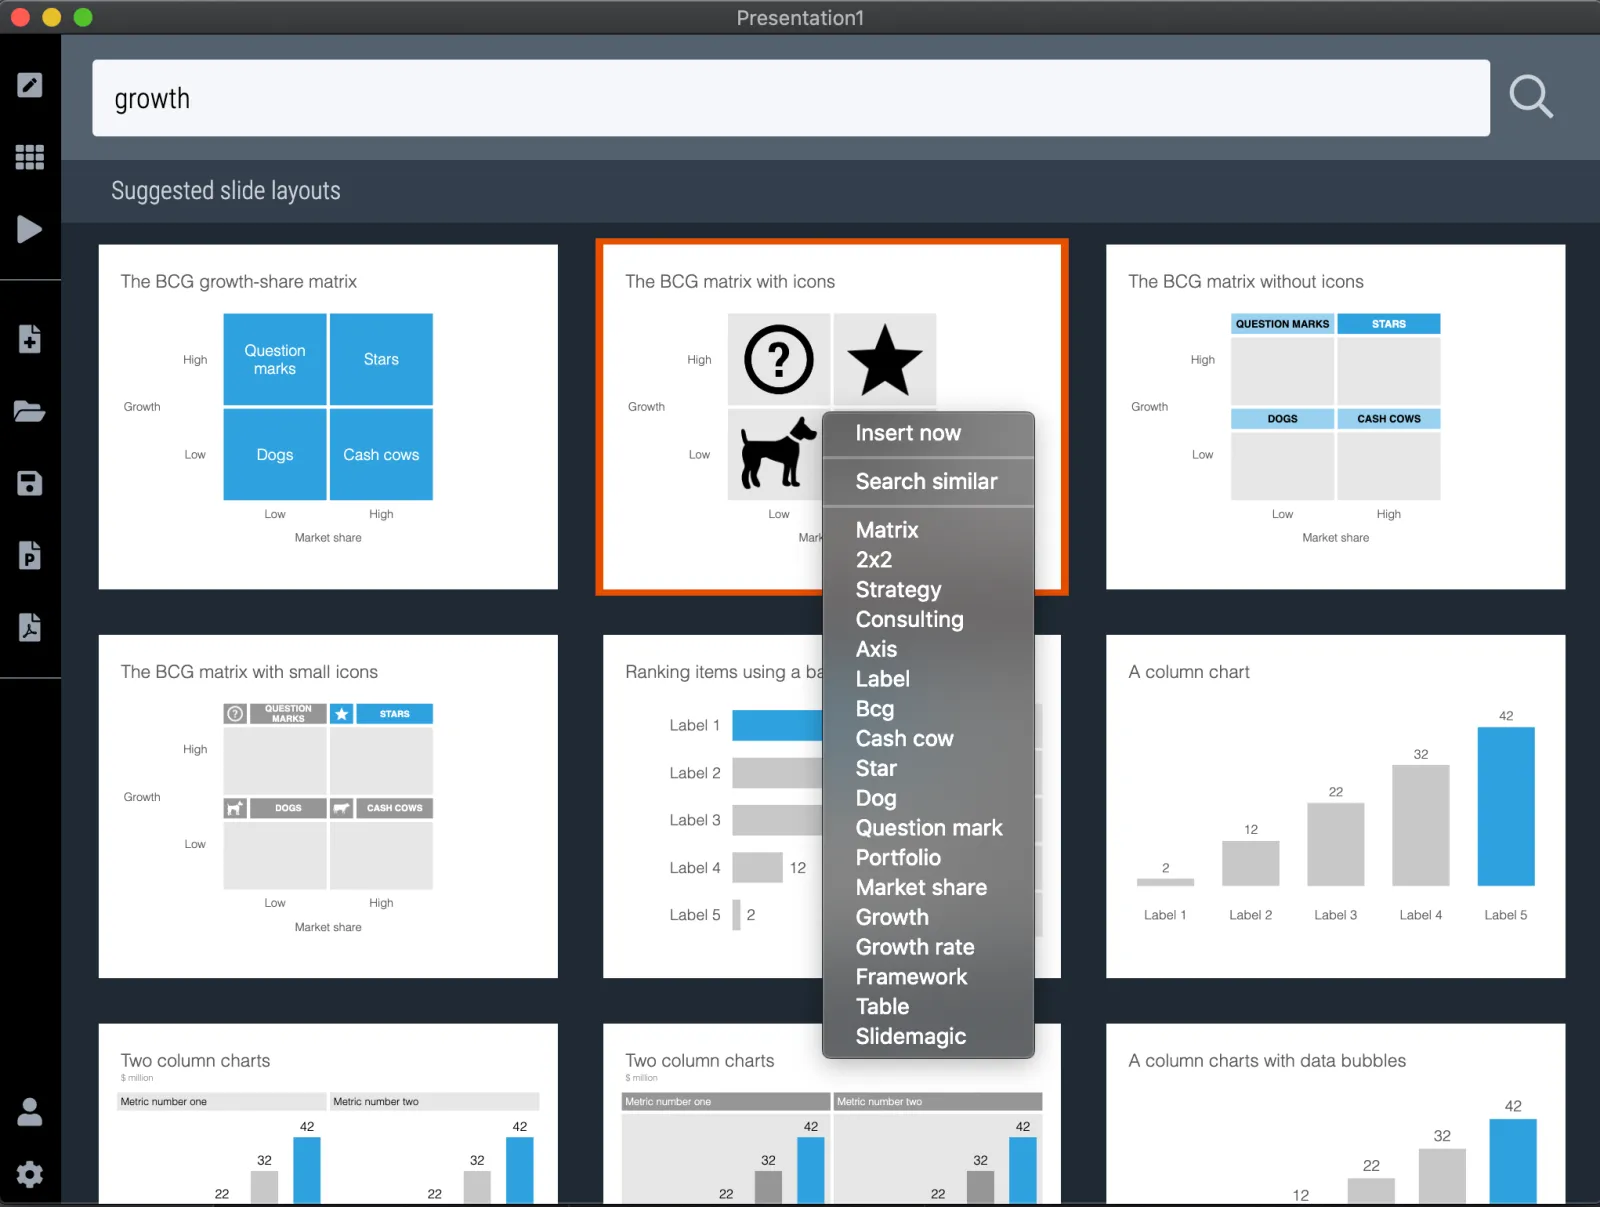
 Right-click on a search result to access related searches
Right-click on a search result to access related searches
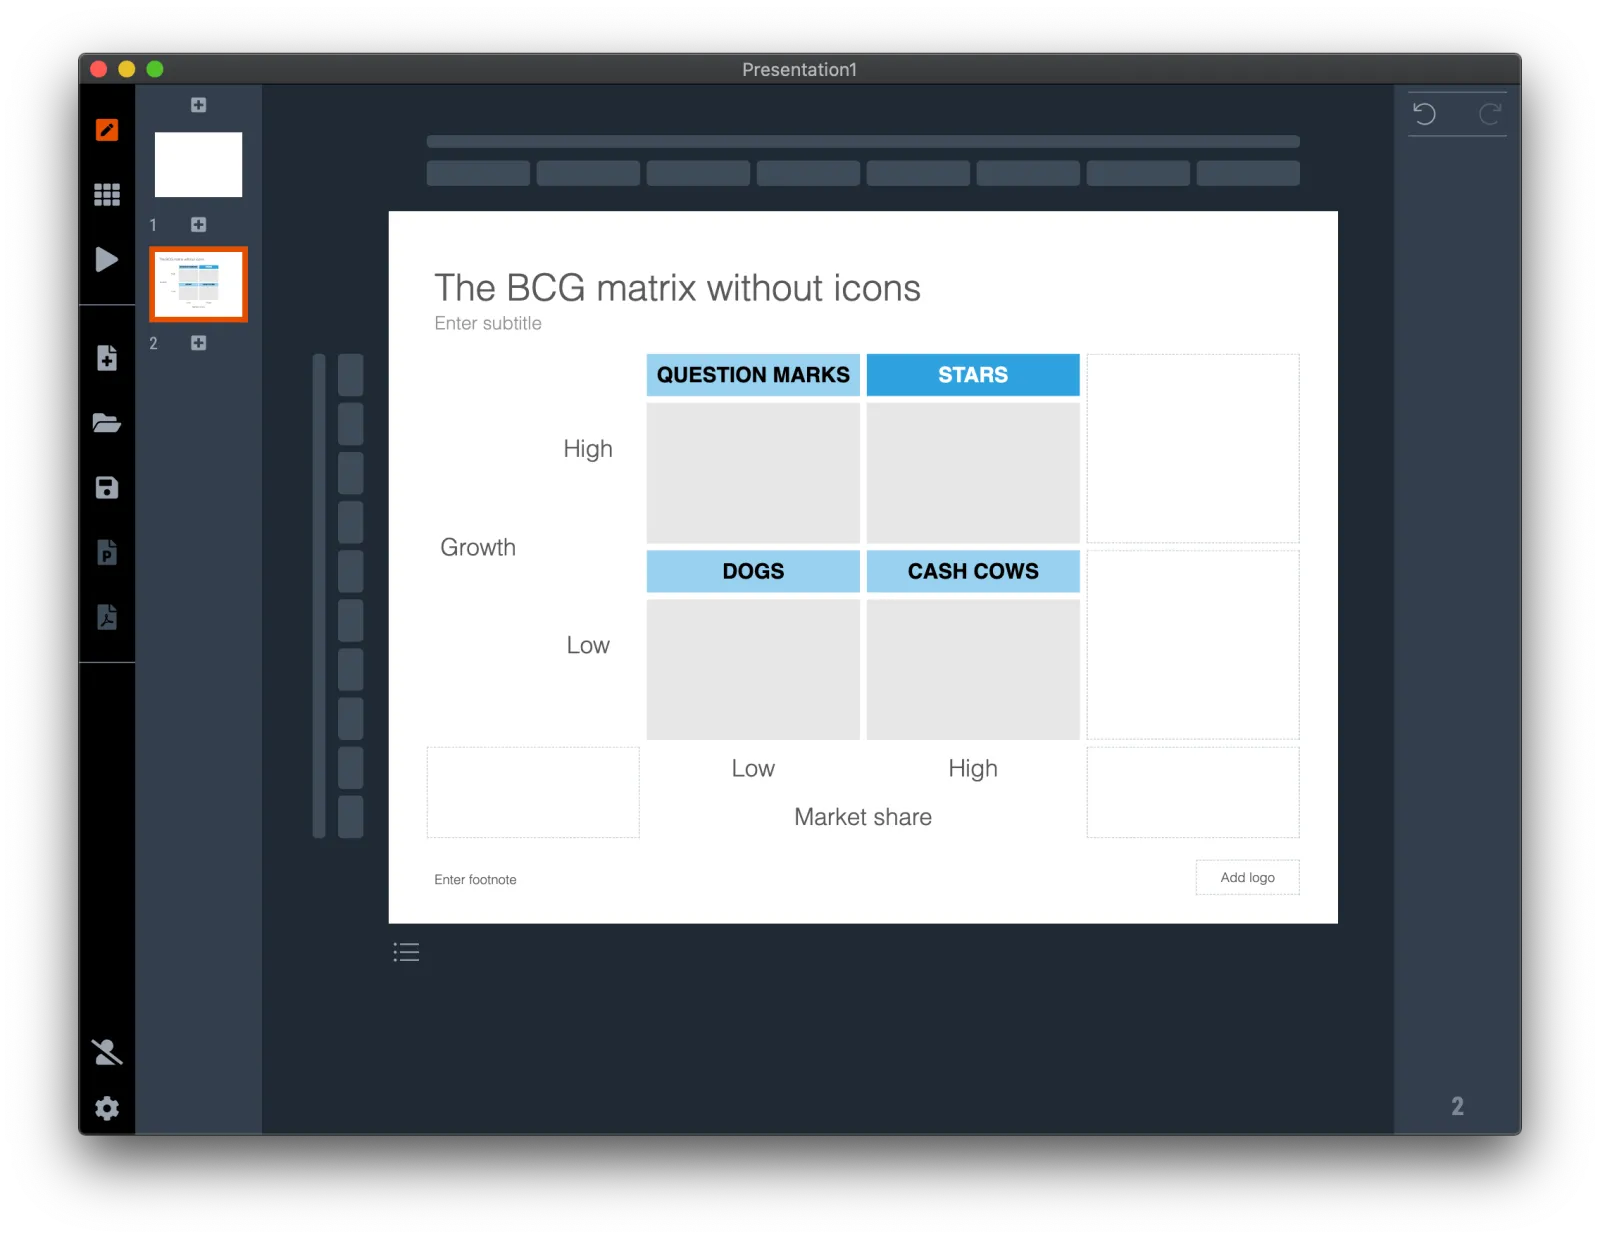
 After clicking a slide, it will be added to your presentation
After clicking a slide, it will be added to your presentation

Formatting text and colours

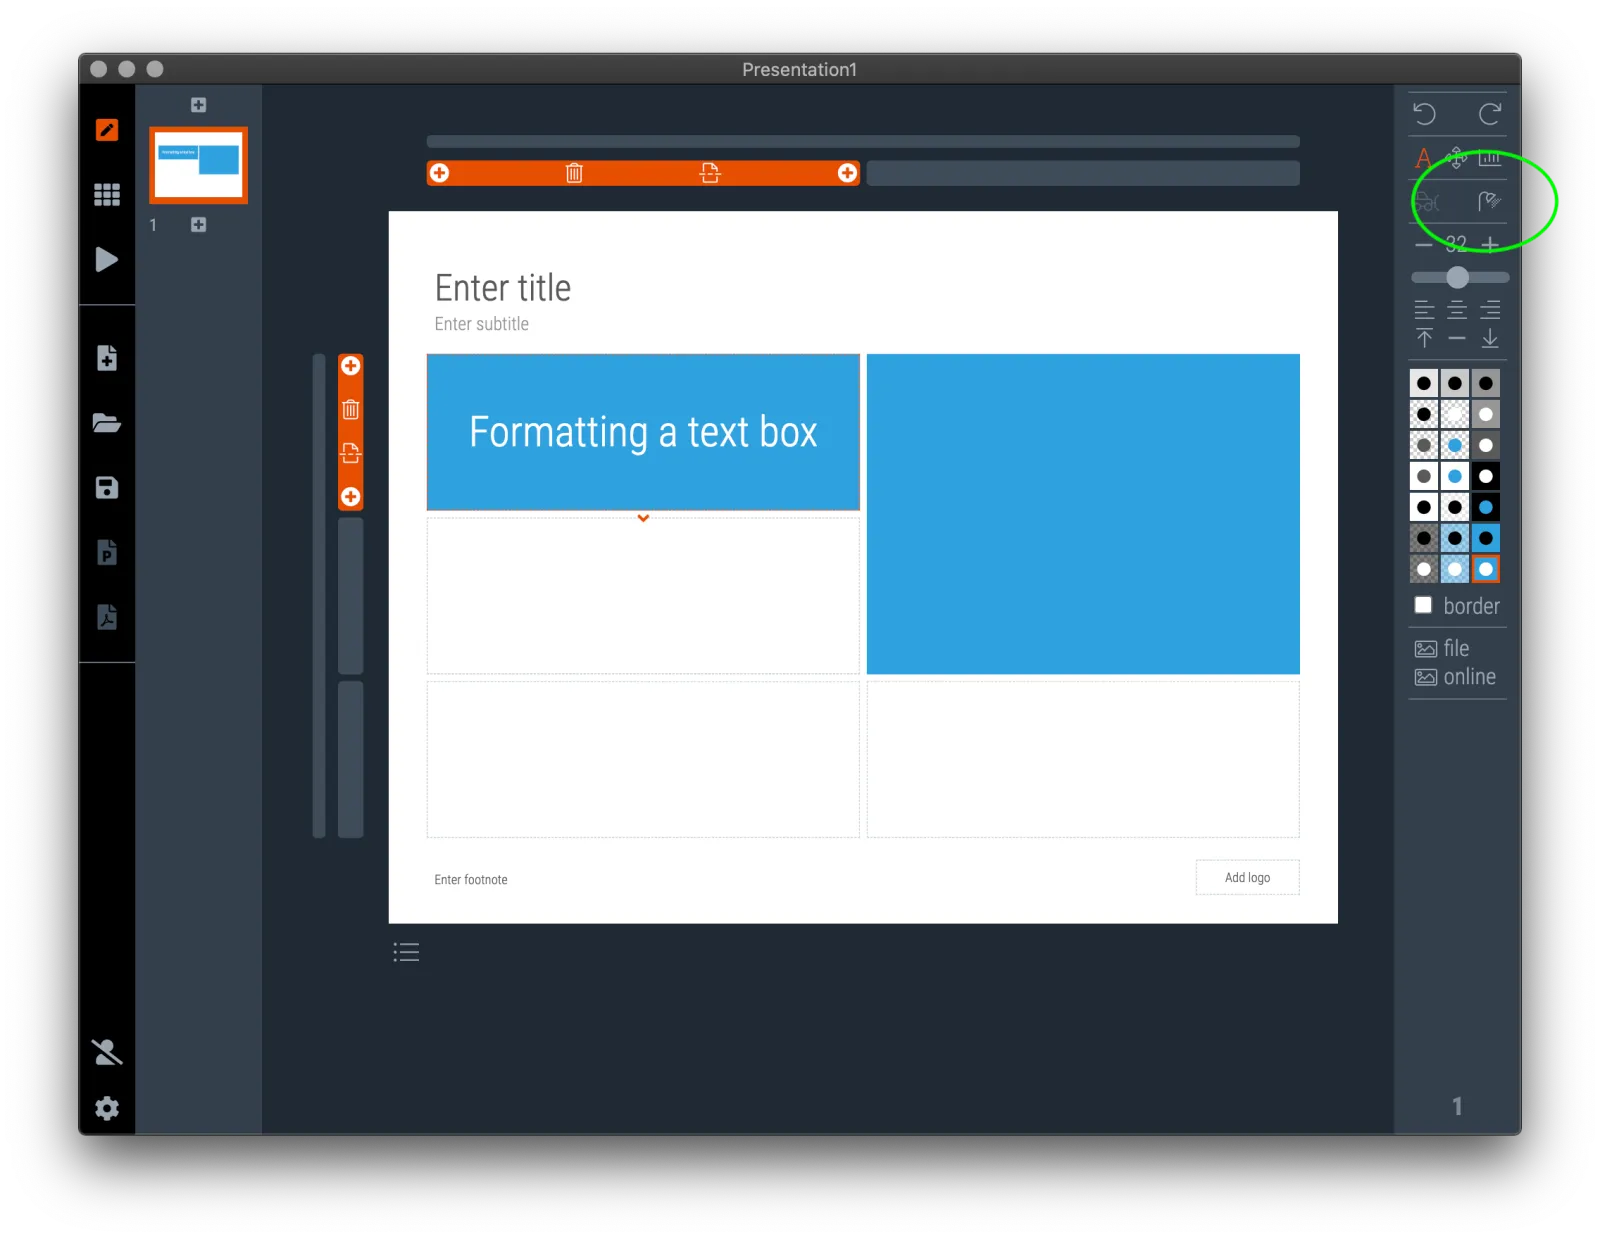
When you click a box in edit mode, you can change its appearance: font size, colours, alignment, etc. SlideMagic only uses one accent colour to keep your presentation consistent.

Notice how the accent colour of SlideMagic itself, is the opposite of the one you are using for your slides.
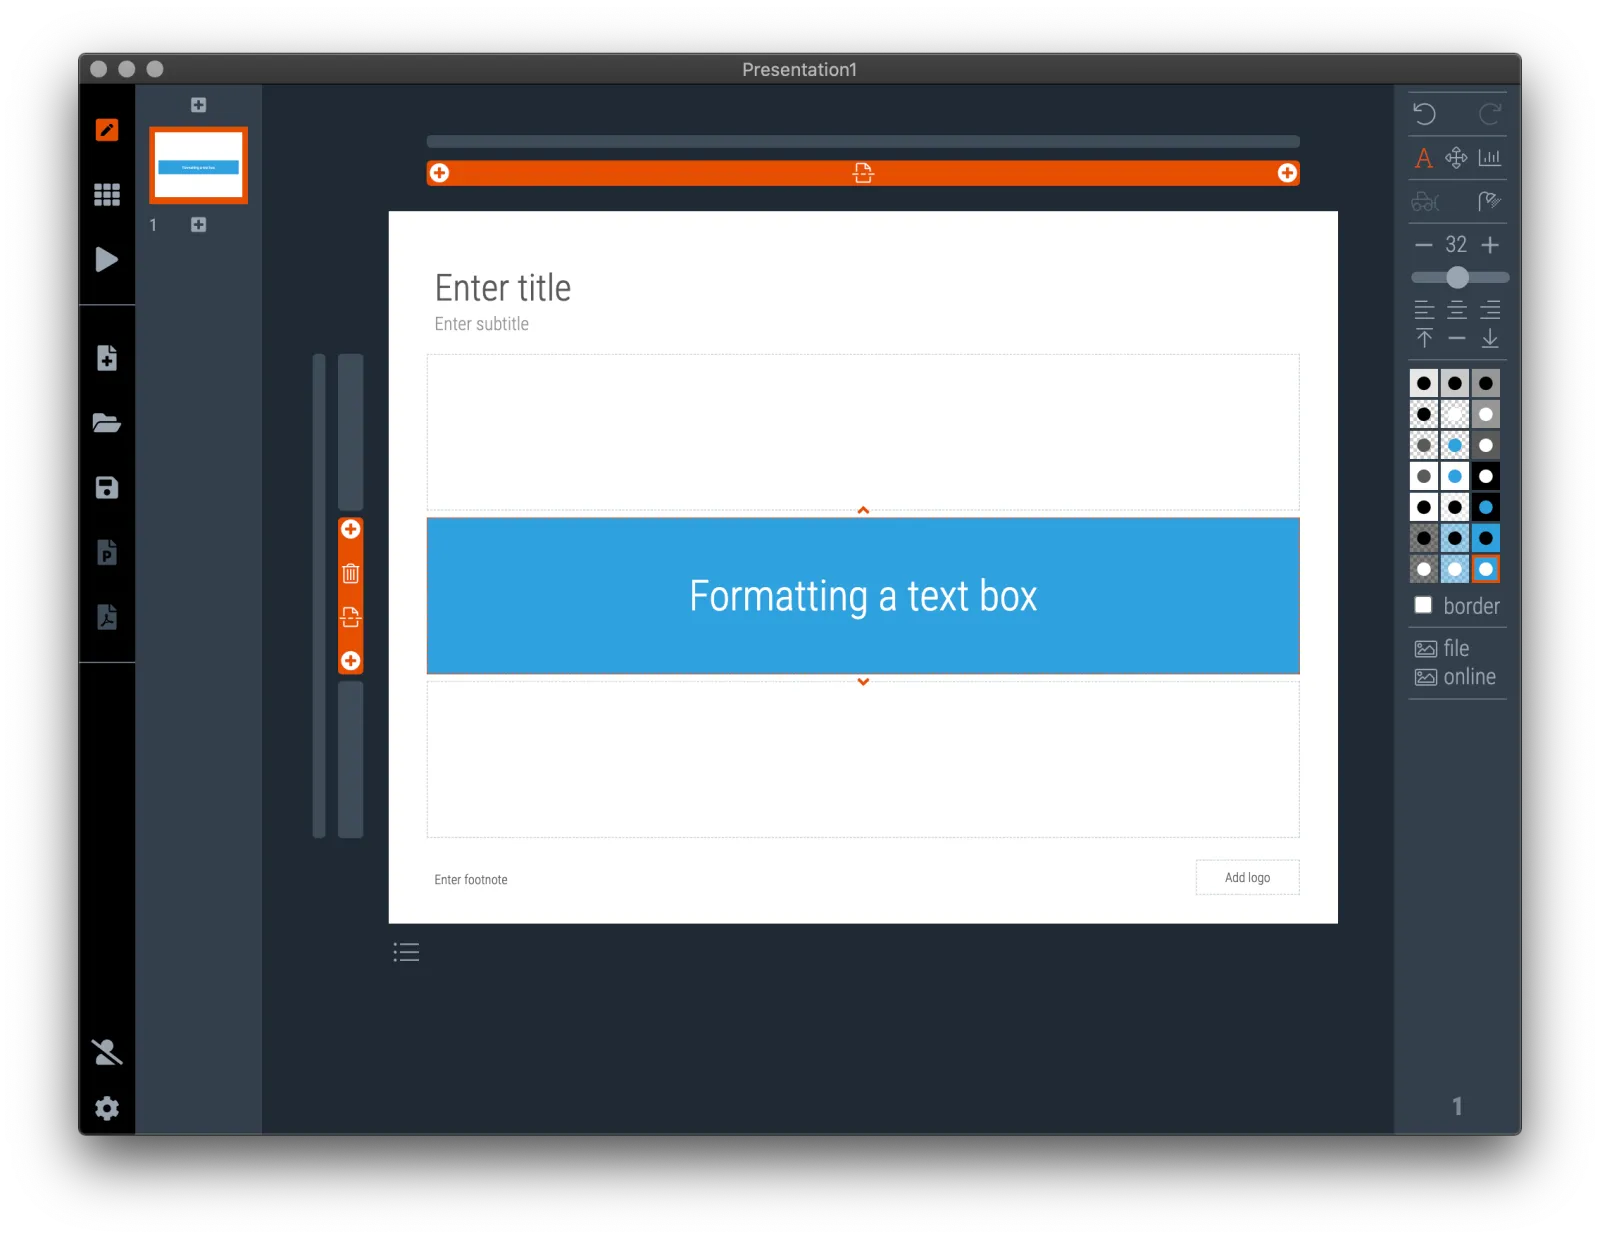
 Click on a box to change its appearance
Click on a box to change its appearance

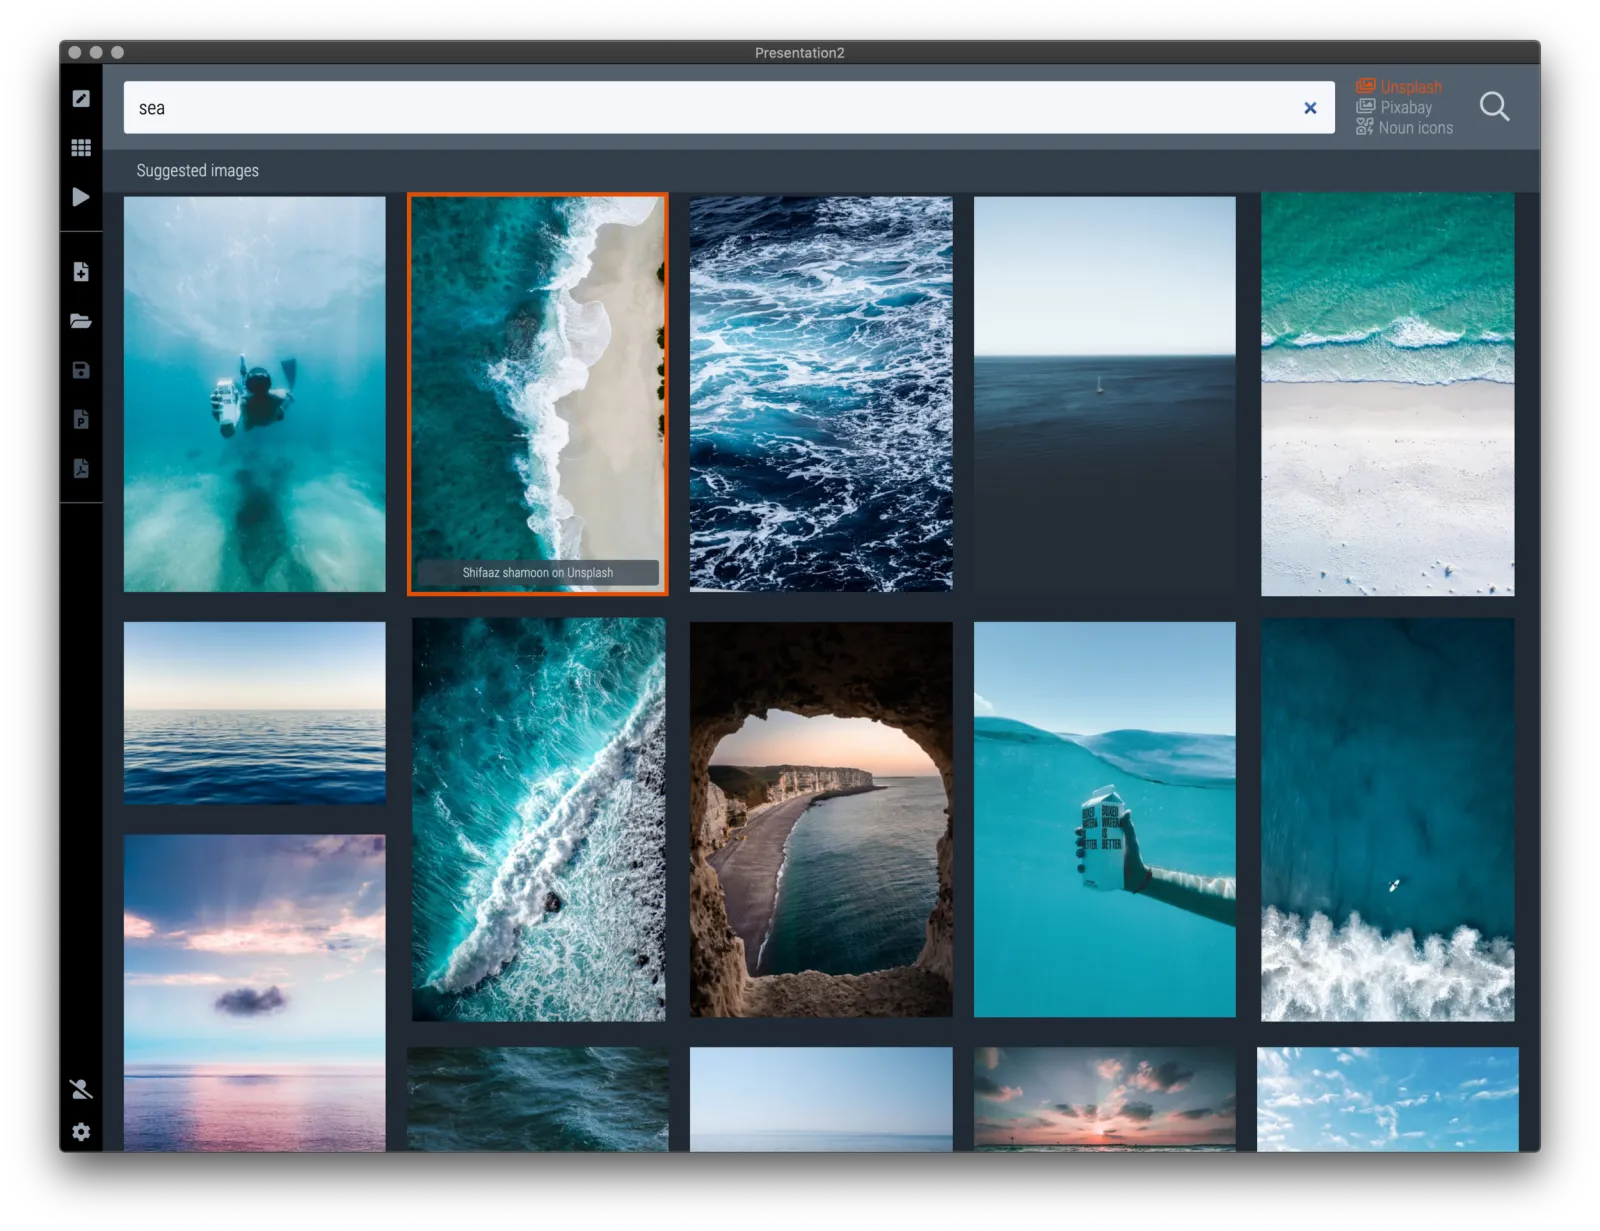
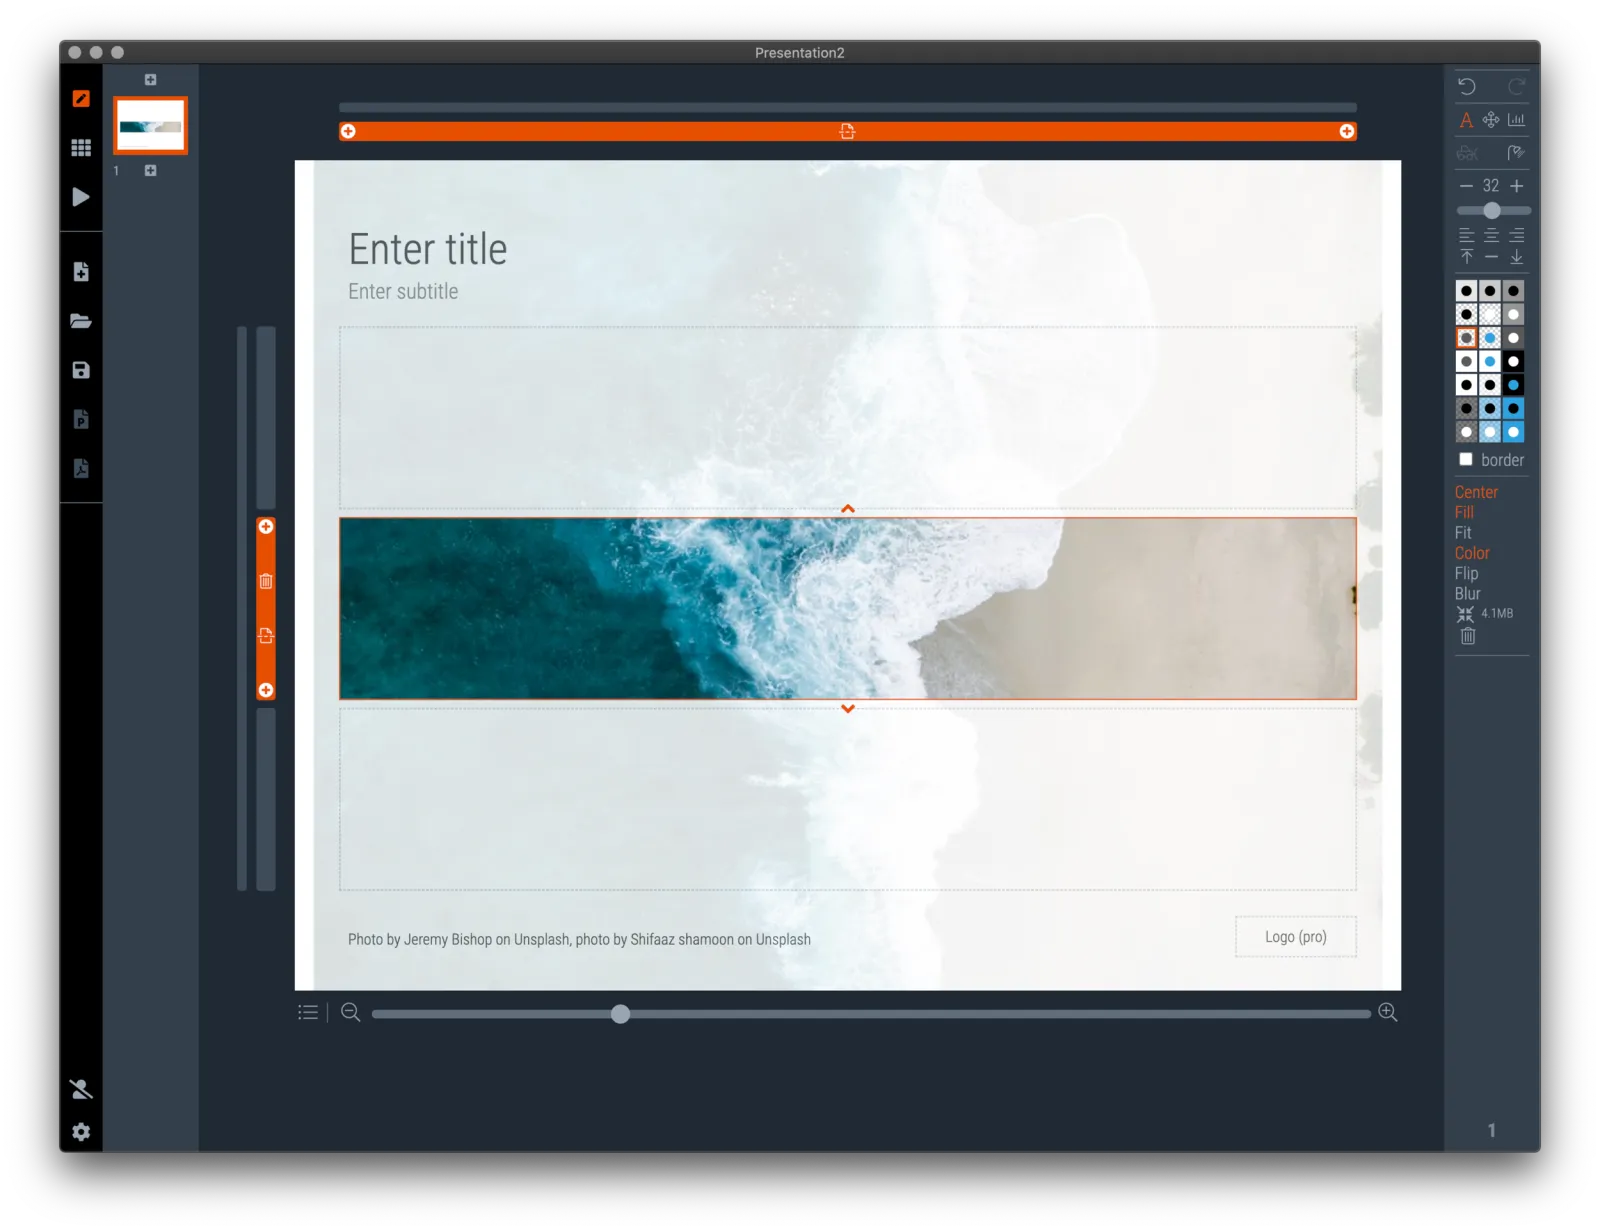
You add an image background either from a local image file, or an online search (Unsplash and Pixabay for images, The Noun Project for icons). Images downloaded from one of these sites are royalty free. As a gesture to the photographer, an image credit will be added to the footnote of the slide, but you are free to remove this.

Adding an image
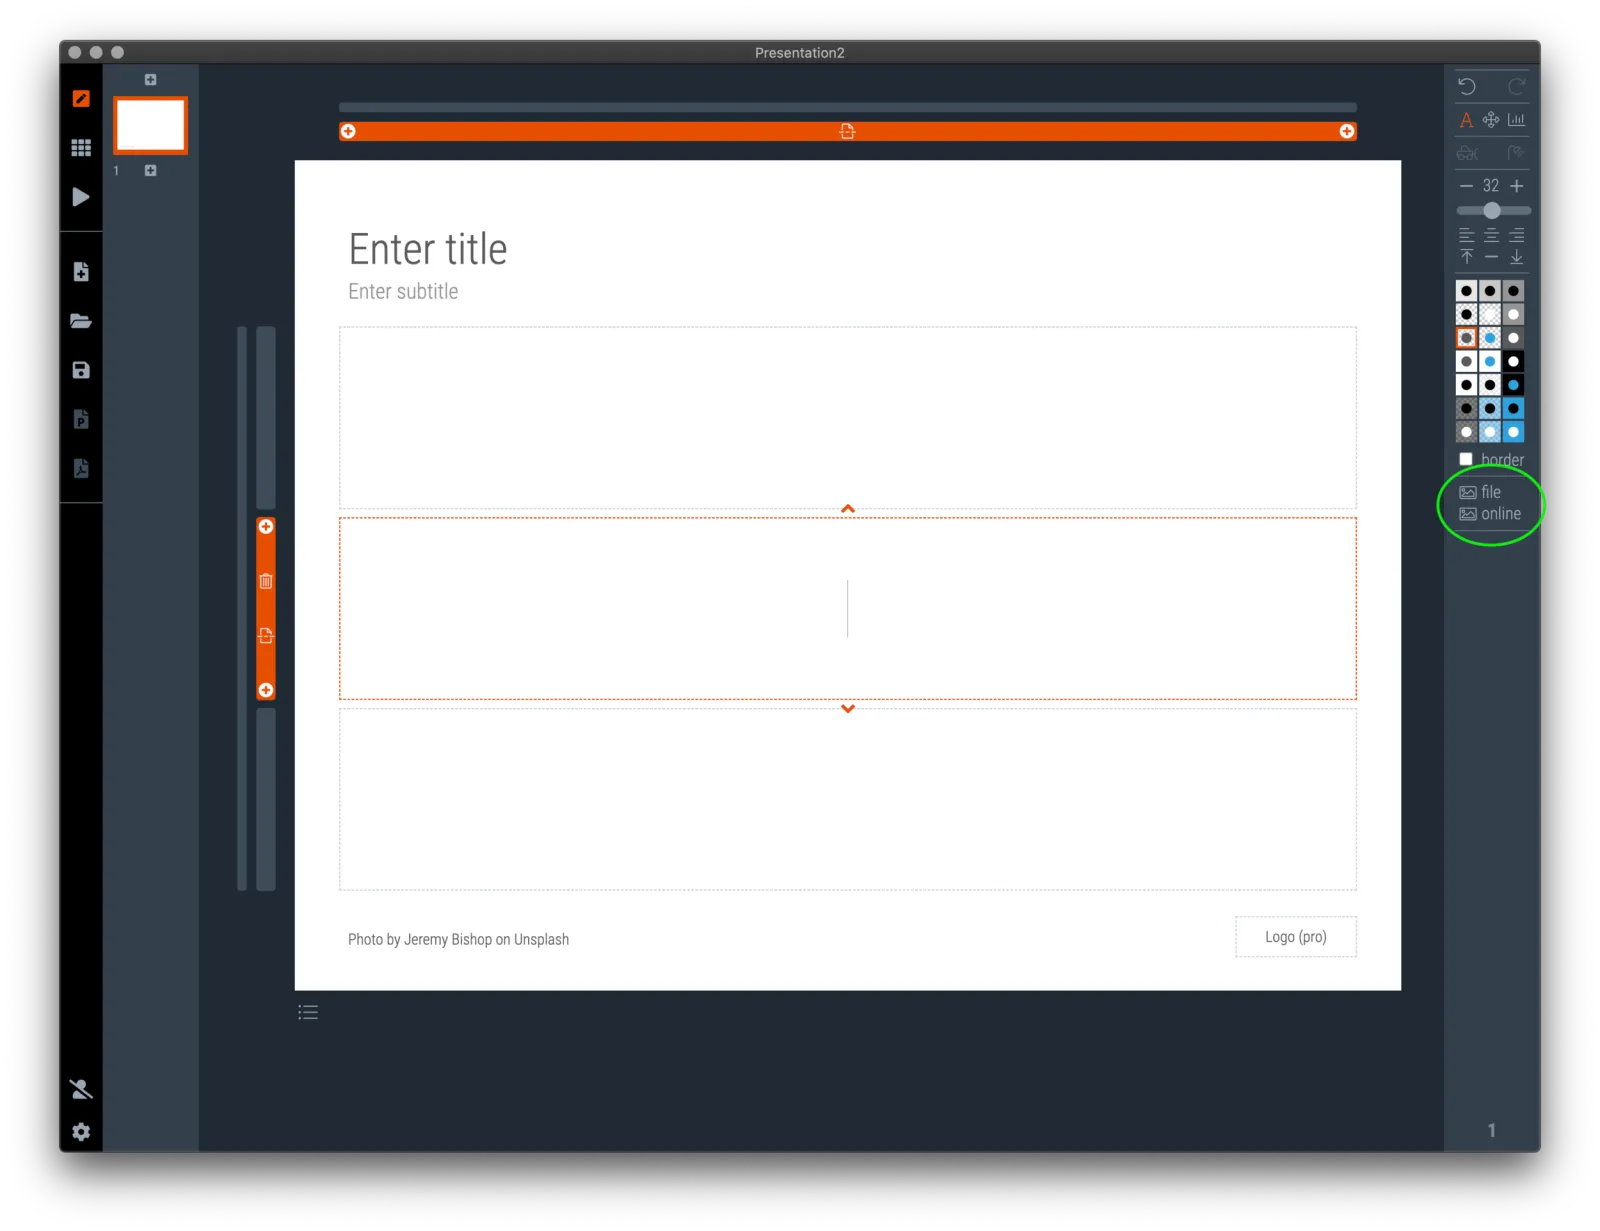
 Click “online” to select an image for the box via an online search
Click “online” to select an image for the box via an online search
 Click the image you would like to use
Click the image you would like to use
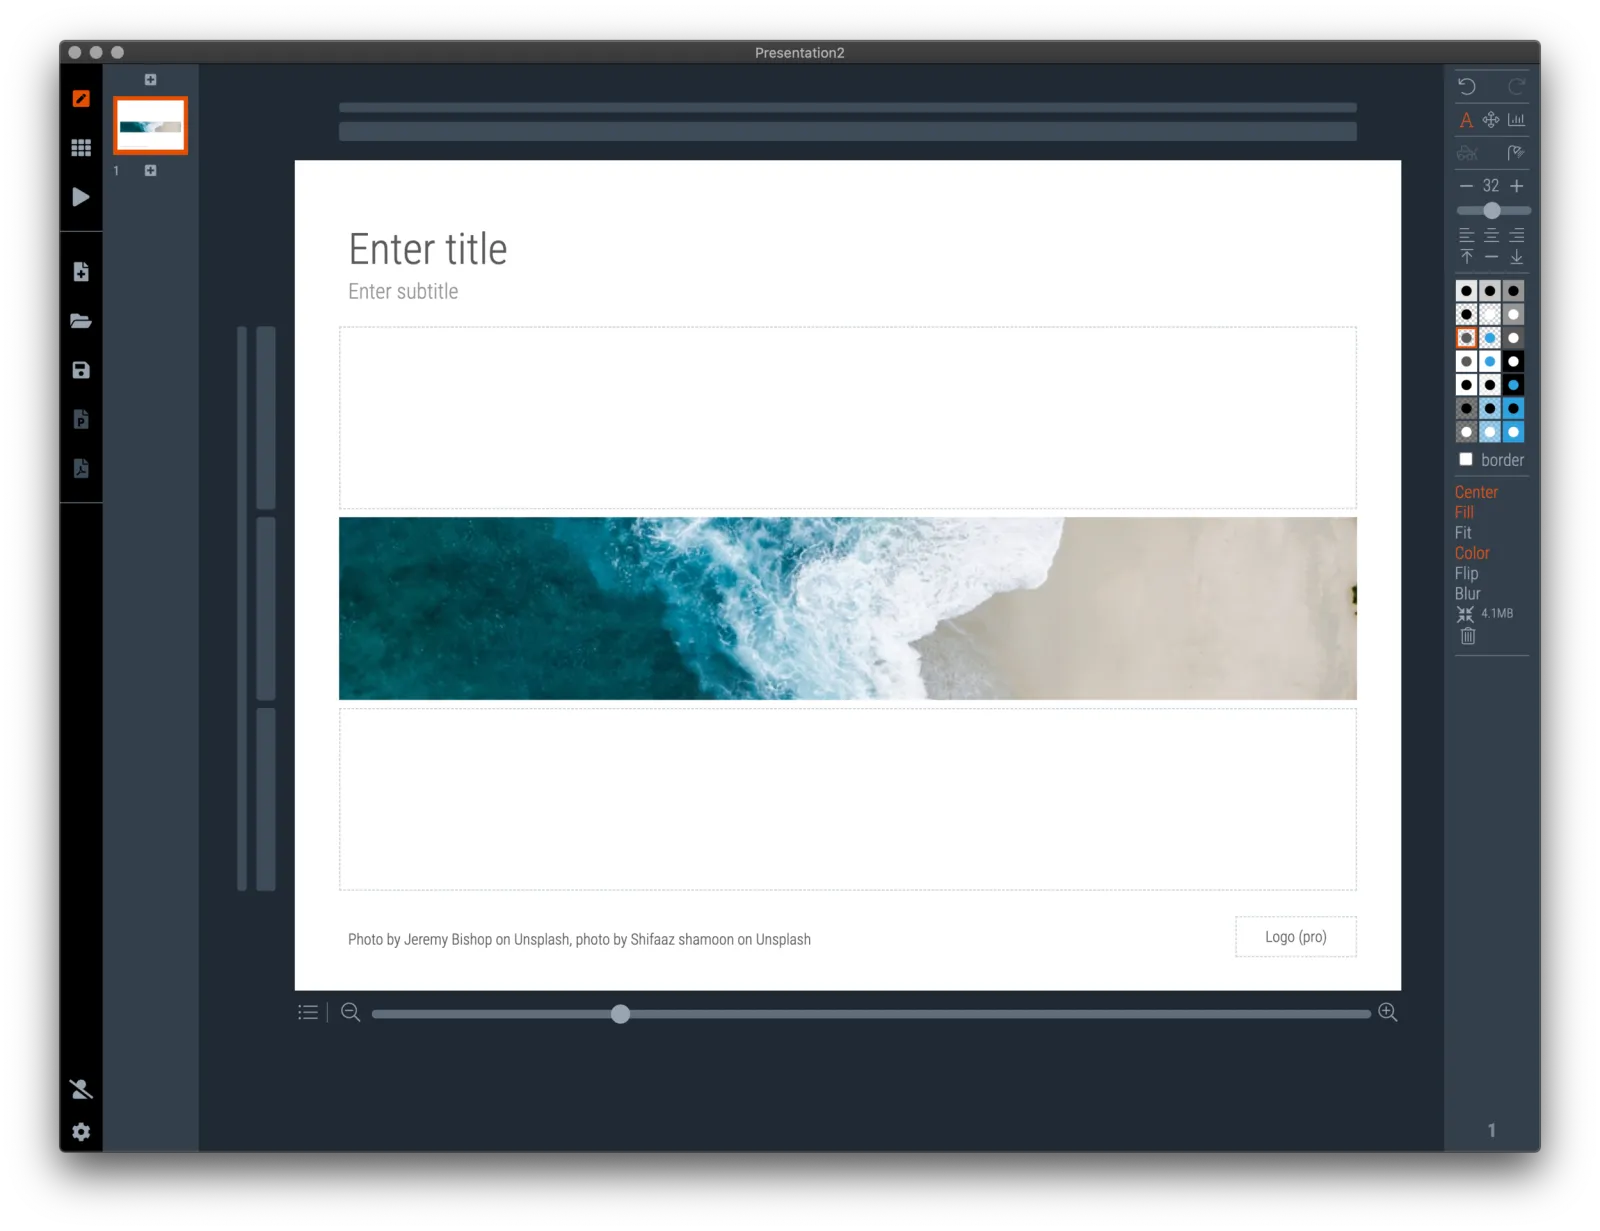
 Reposition and scale the image if needed
Reposition and scale the image if needed

SlideMagic is all about the grid. Rather than drawing and dragging shapes, it works more like a spreadsheet application, where you add/remove columns and lines, and expand/collapse boxes. The result is a slide layout that is always perfectly spaced out.

  • To collapse/expand boxes, click the small arrows that appear after selected a box.
  • To add/remove columns and rows, use the “+” and trash can icons in the horizontal and vertical ruler bars of the slide

Changing the slide layout
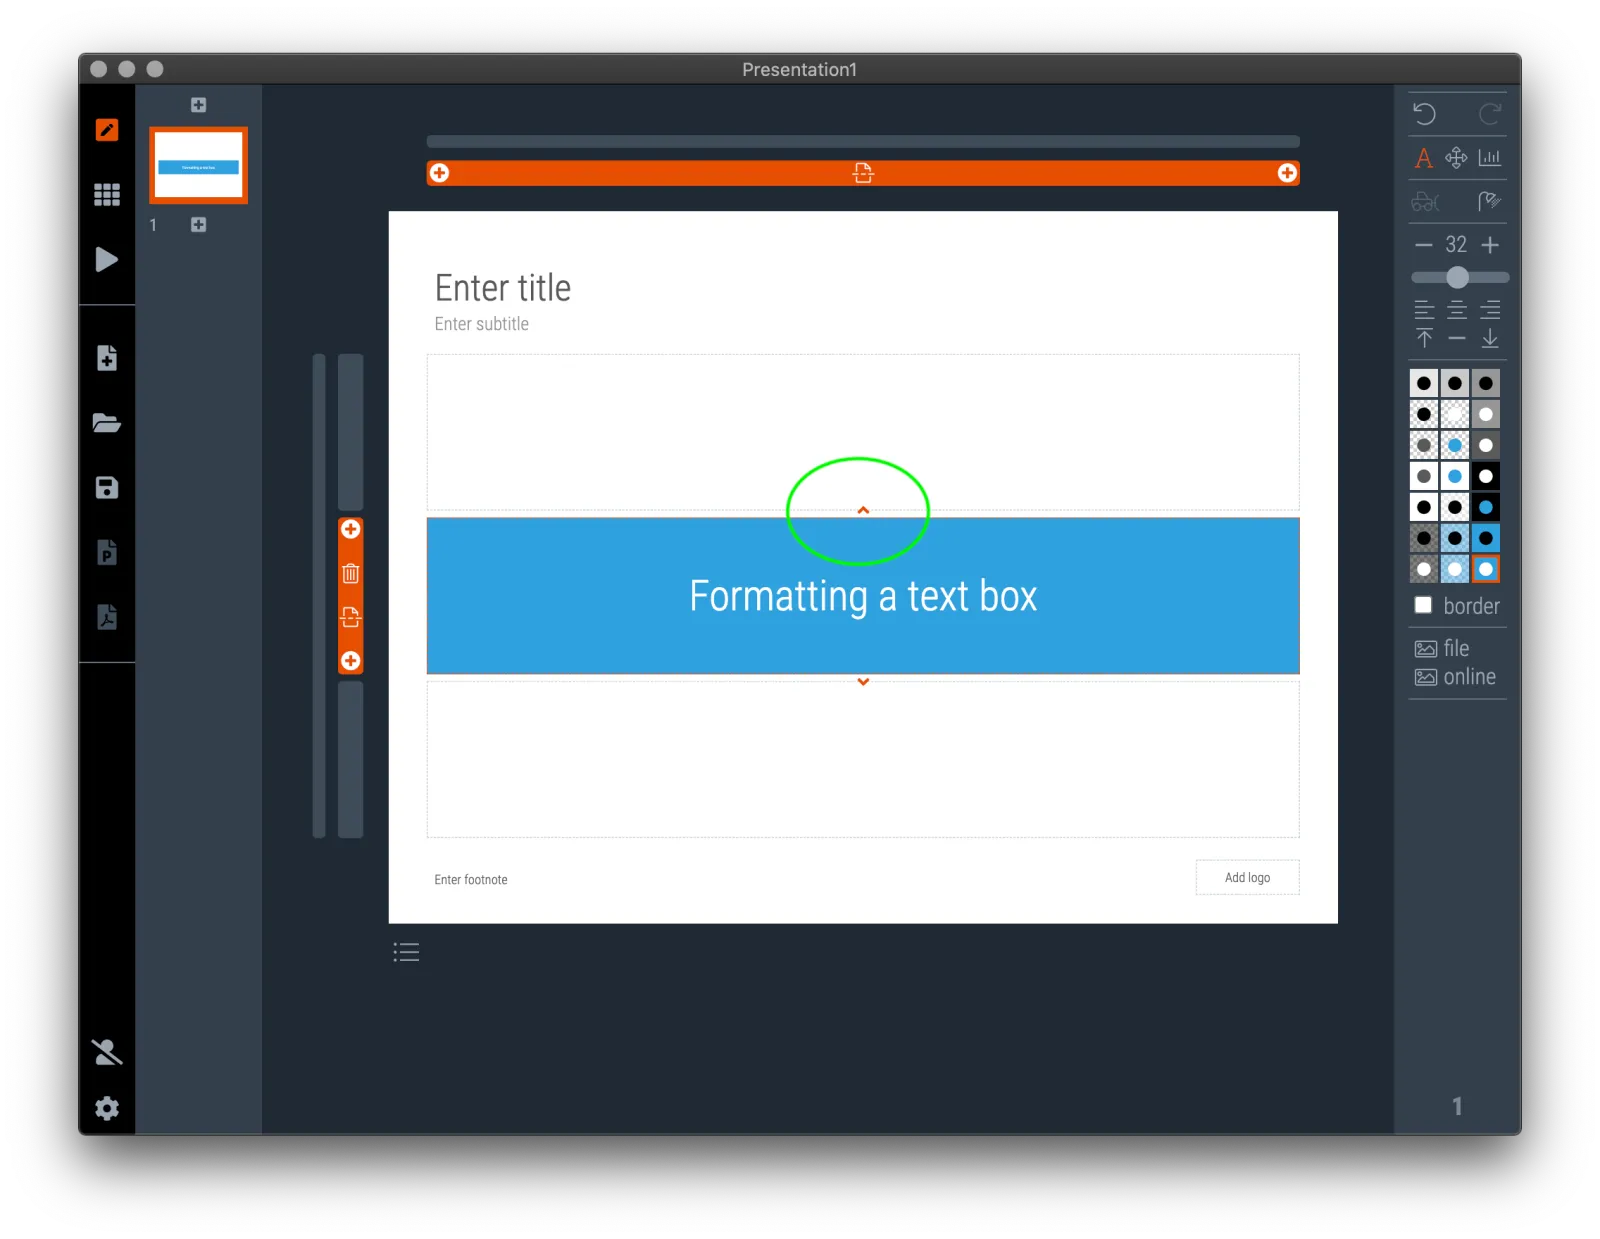
 Click the up arrow to expand the box
Click the up arrow to expand the box
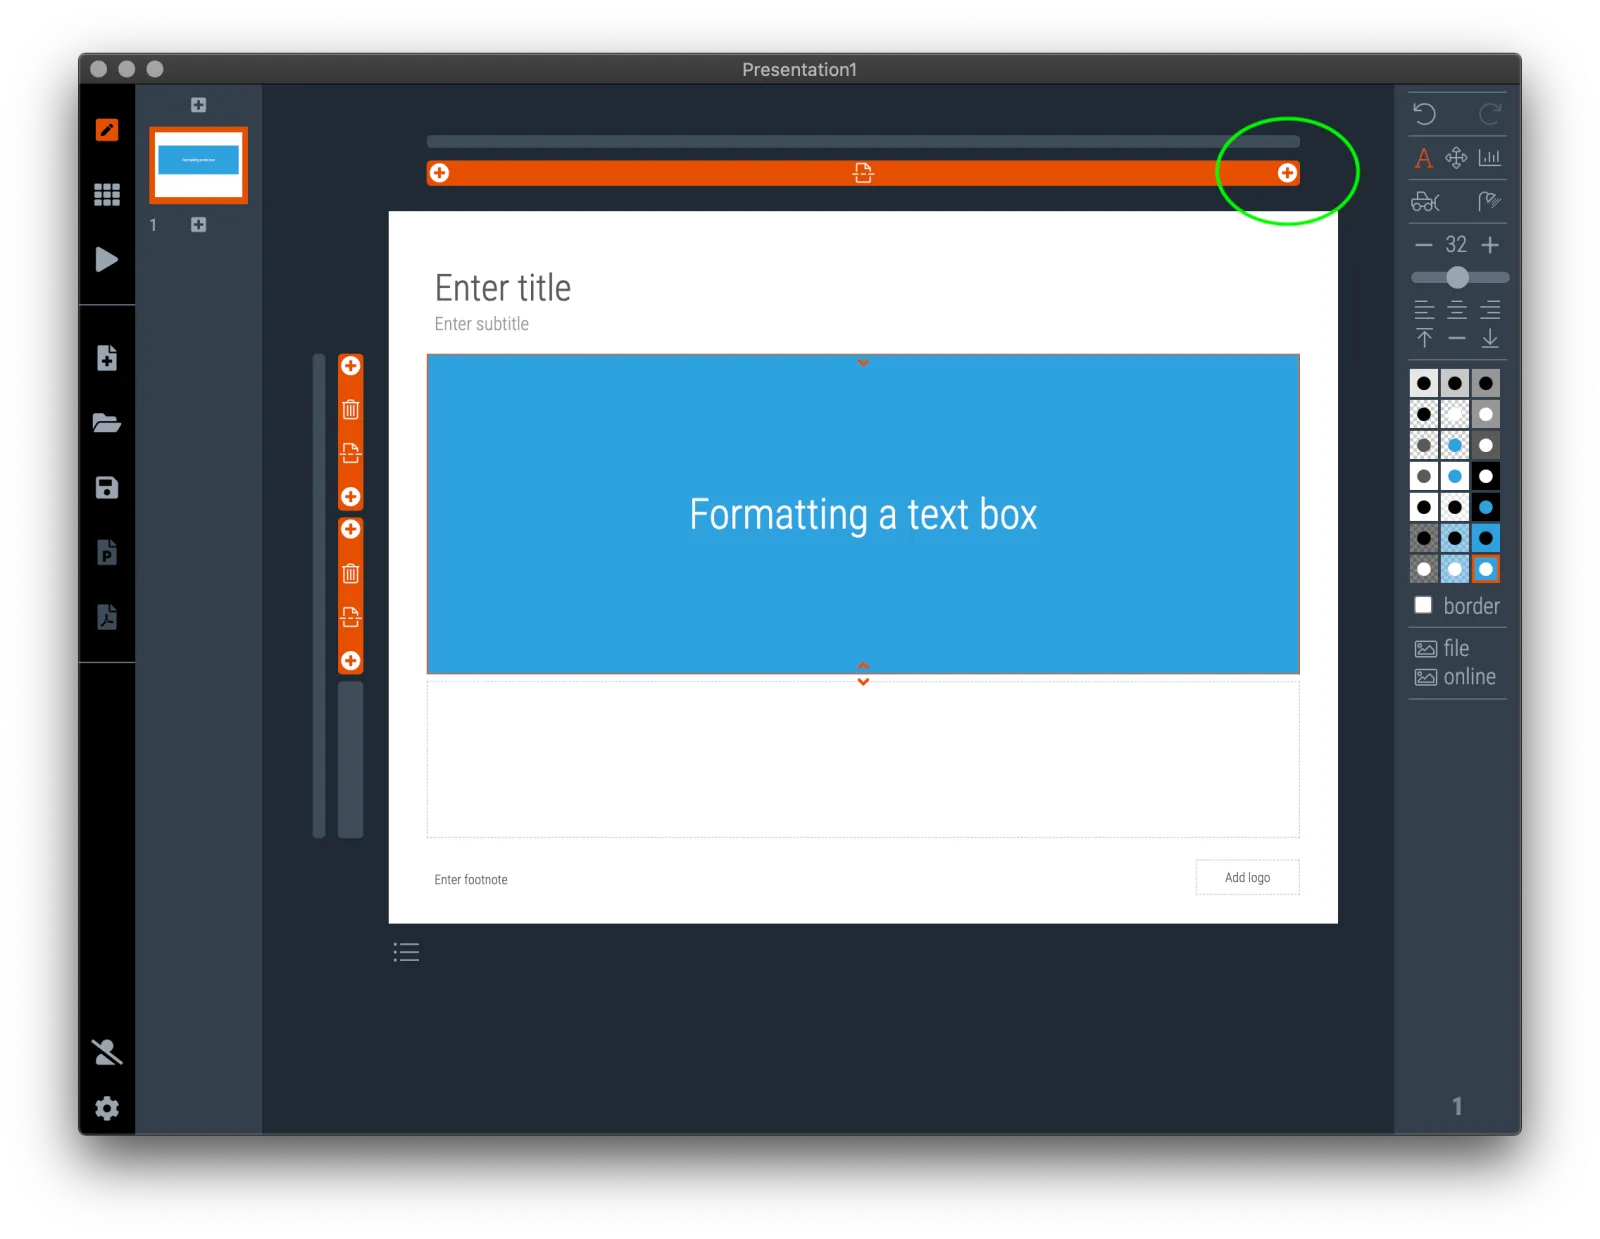
 Click the “+” in the horizontal ruler bar to add a new column
Click the “+” in the horizontal ruler bar to add a new column
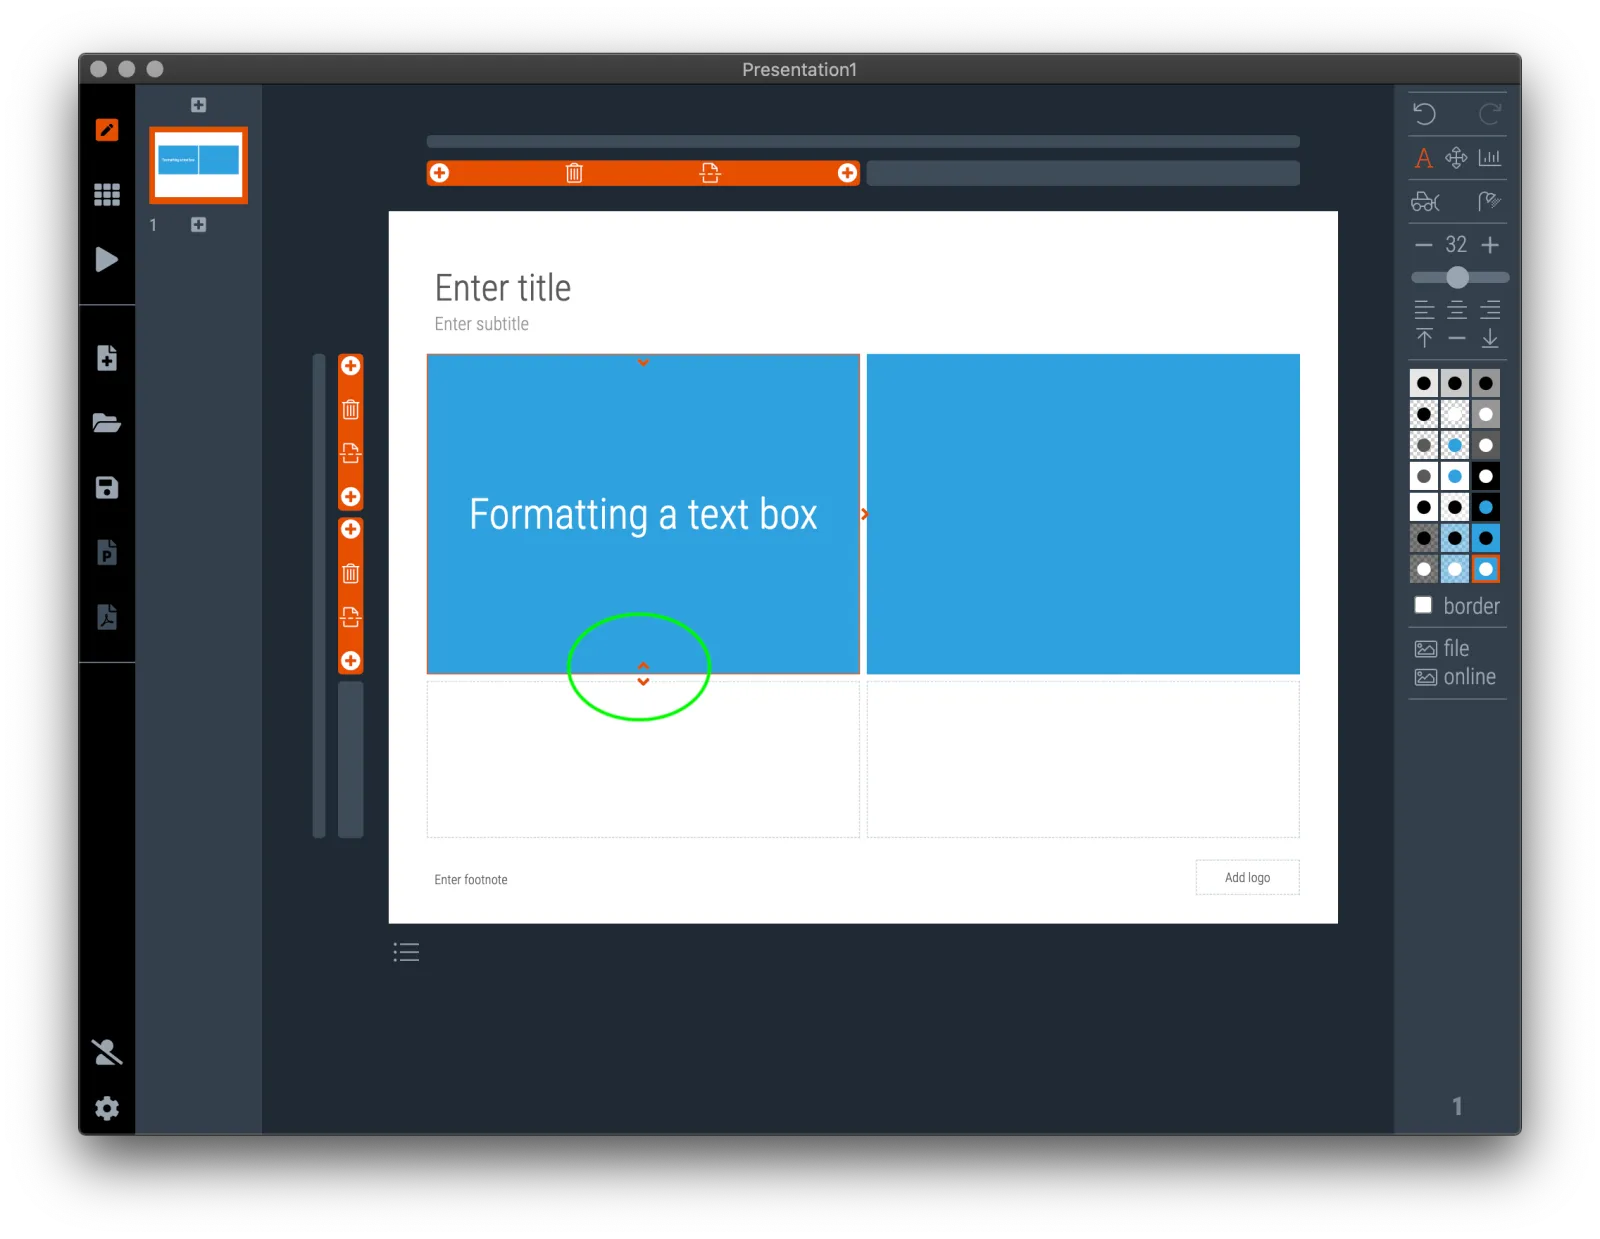
 Click the up arrow to collapse the box
Click the up arrow to collapse the box
 Click the “shower” icon to remove the formatting and text content of a box
Click the “shower” icon to remove the formatting and text content of a box
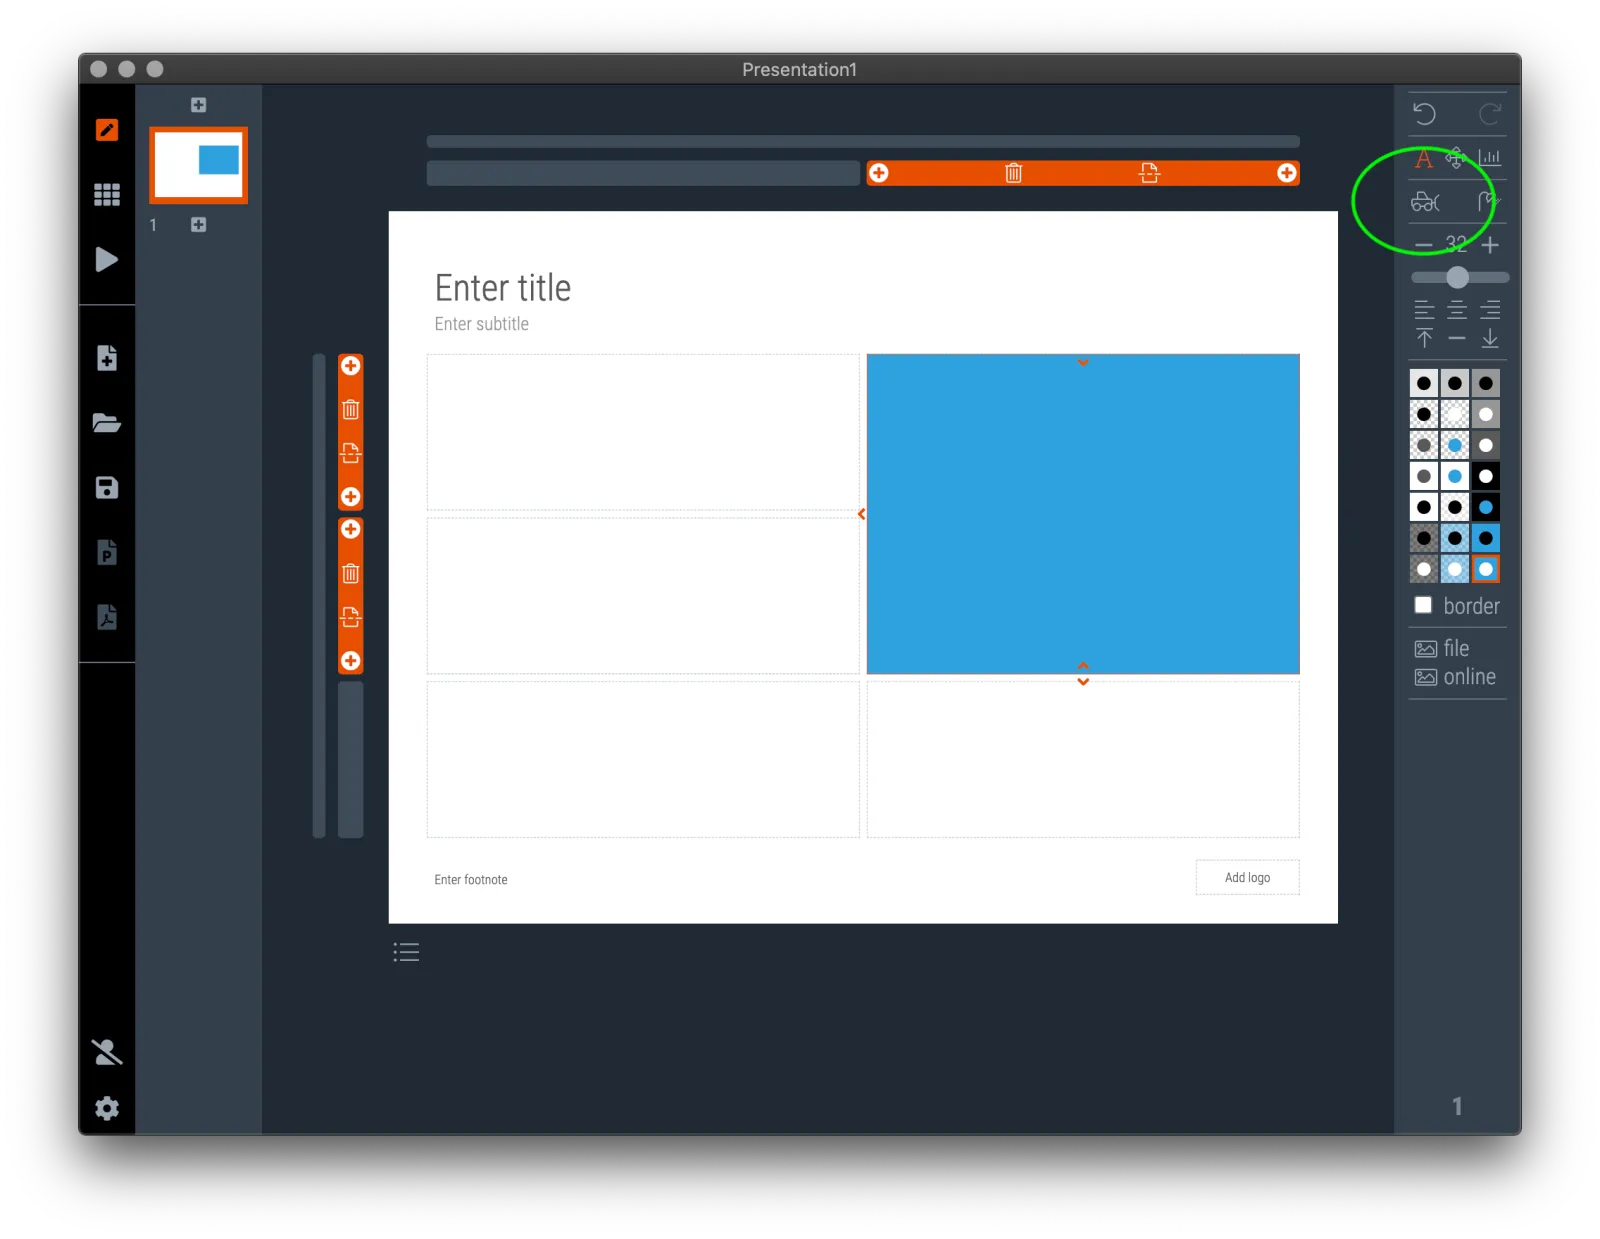
 Click the “bulldozer” icon to break up the box into its original cells
Click the “bulldozer” icon to break up the box into its original cells

Still stuck? Contact support at [email protected]. EST + 7 hours, Sunday through Thursday